Rocket Pocket (or, how to make those awesome shaped pocket openings!)
People have been posting pictures of the TPT (or Treasure Pocket Tee for those of you new to the Duck Butt Designs world) with funky shaped pocket openings. By far the most popular is the star shape, but there was an awesome bat one as well (seriously, you should check out the wings under the sleeves.)
This Pinterest-worthy look is super impressive, but also pretty simple. Here's how to make almost any shape you can think of!
Start with shape of your the pocket. I use the pattern piece for the pocket backing to help me visualize. You want your hand hole to be large enough for a hand to get through but a small percentage of the overall pocket. Think 4" long maximum. Rounder shapes can be even smaller, like a 3" star.
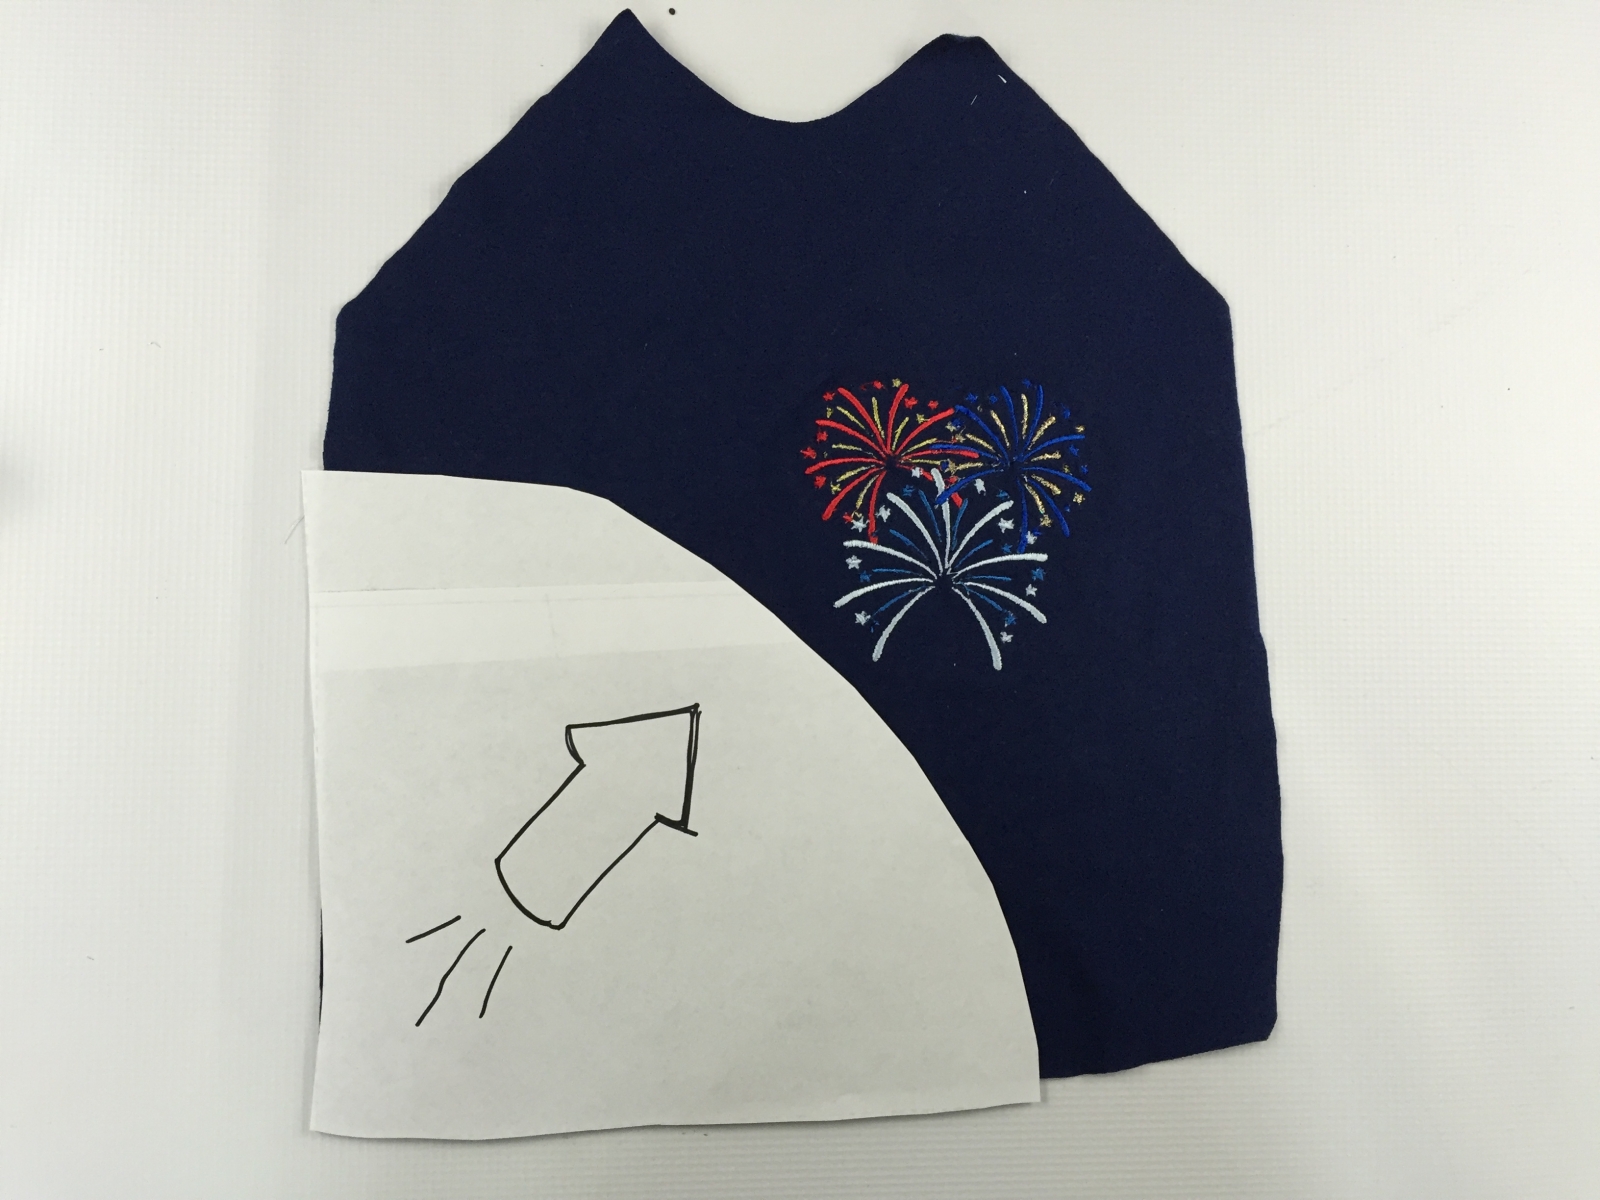
Plan the placement of your shape and draw it out on the pocket backing. You will want to compare this to the design on the front of your shirt to make sure that the placement works. Here I have designed the pocket so that the opening will look as though it is pointing to the design on the front of the shirt. I eventually moved the design a little up, but you get the idea.
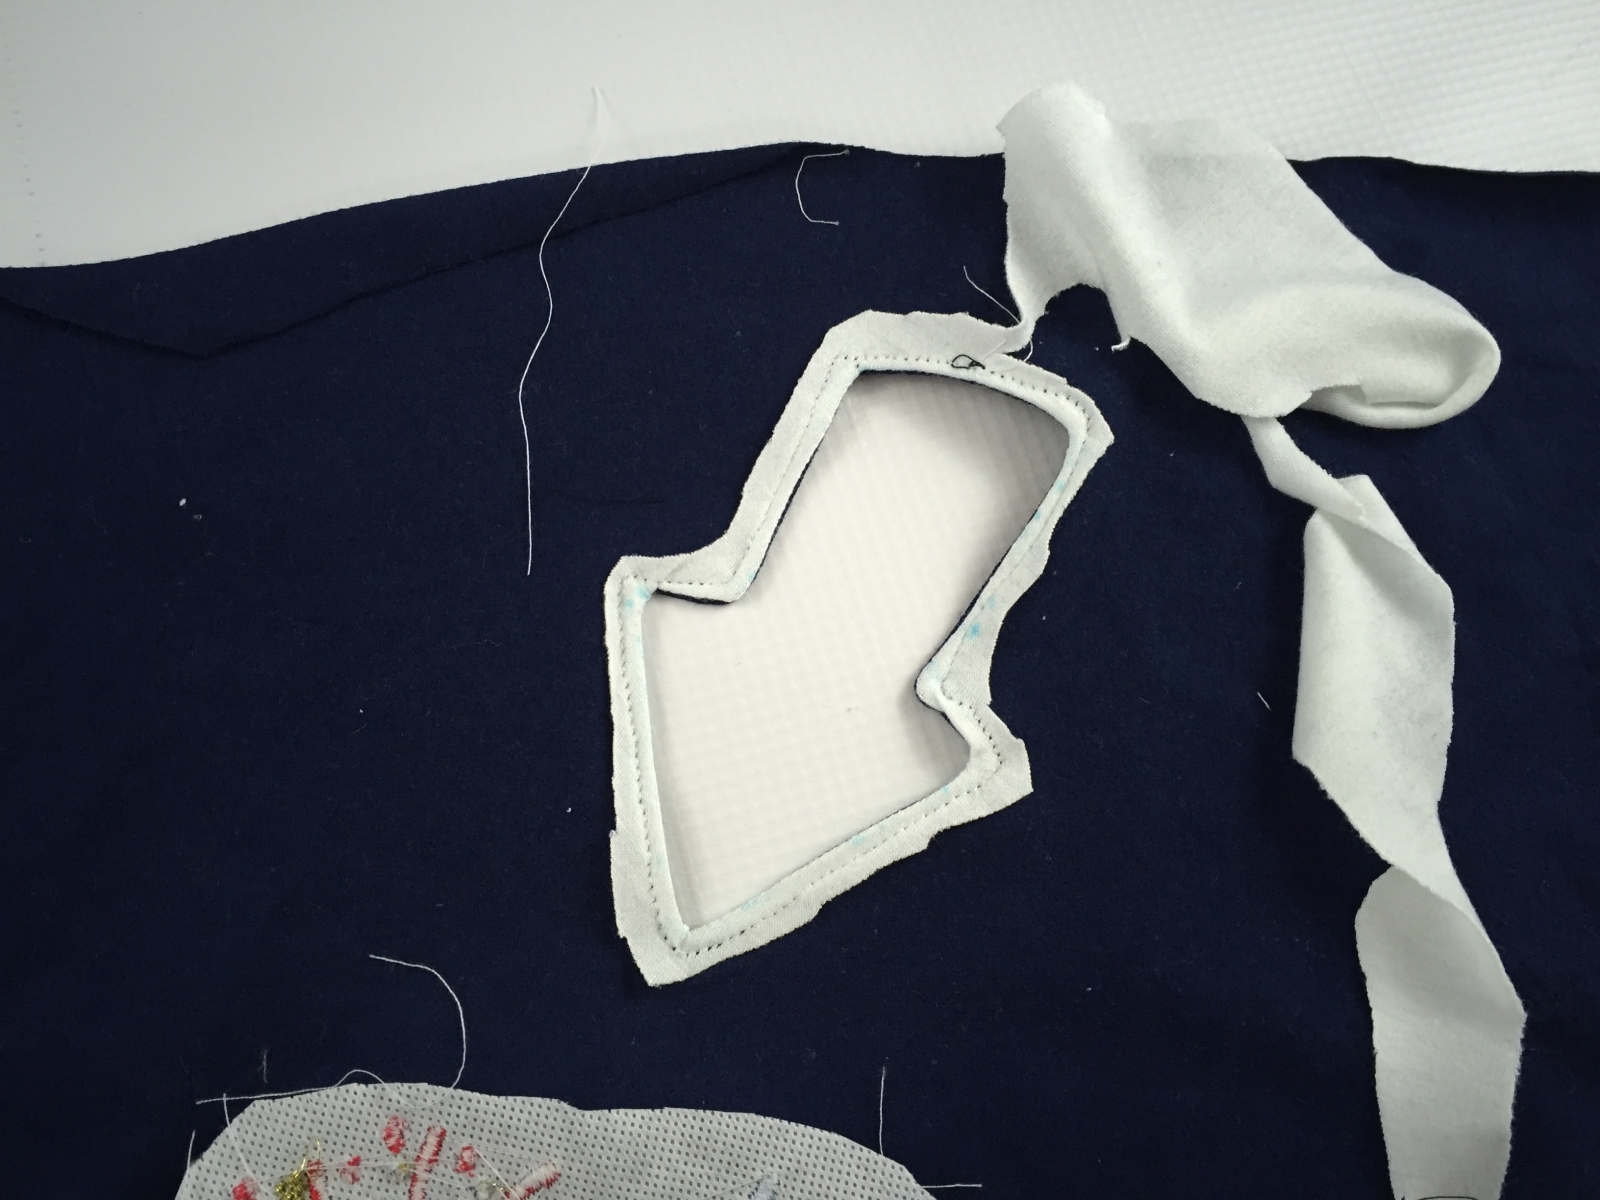
Place a scrap of fabric over the area where you want the opening right sides together. I chose a white scrap since it would be easy to see. Then copy the pocket opening shape to the backing. Stitch over the lines to secure the scrap to the front of the shirt. Make sure that the scrap does not shift while you are sewing.


Carefully snip out the inside of the shape. You will want to get fairly close to the stitching line, within 1/8". Snip the corners, being careful not to clip the stitches. If you have curves in your shape, you will want to notch the seam allowance of the curve.
Turn the scrap through to the back of the shirt. You may have to turn some of the corners out. You can use something pointy but dull to help you sharpen the corners of your design.
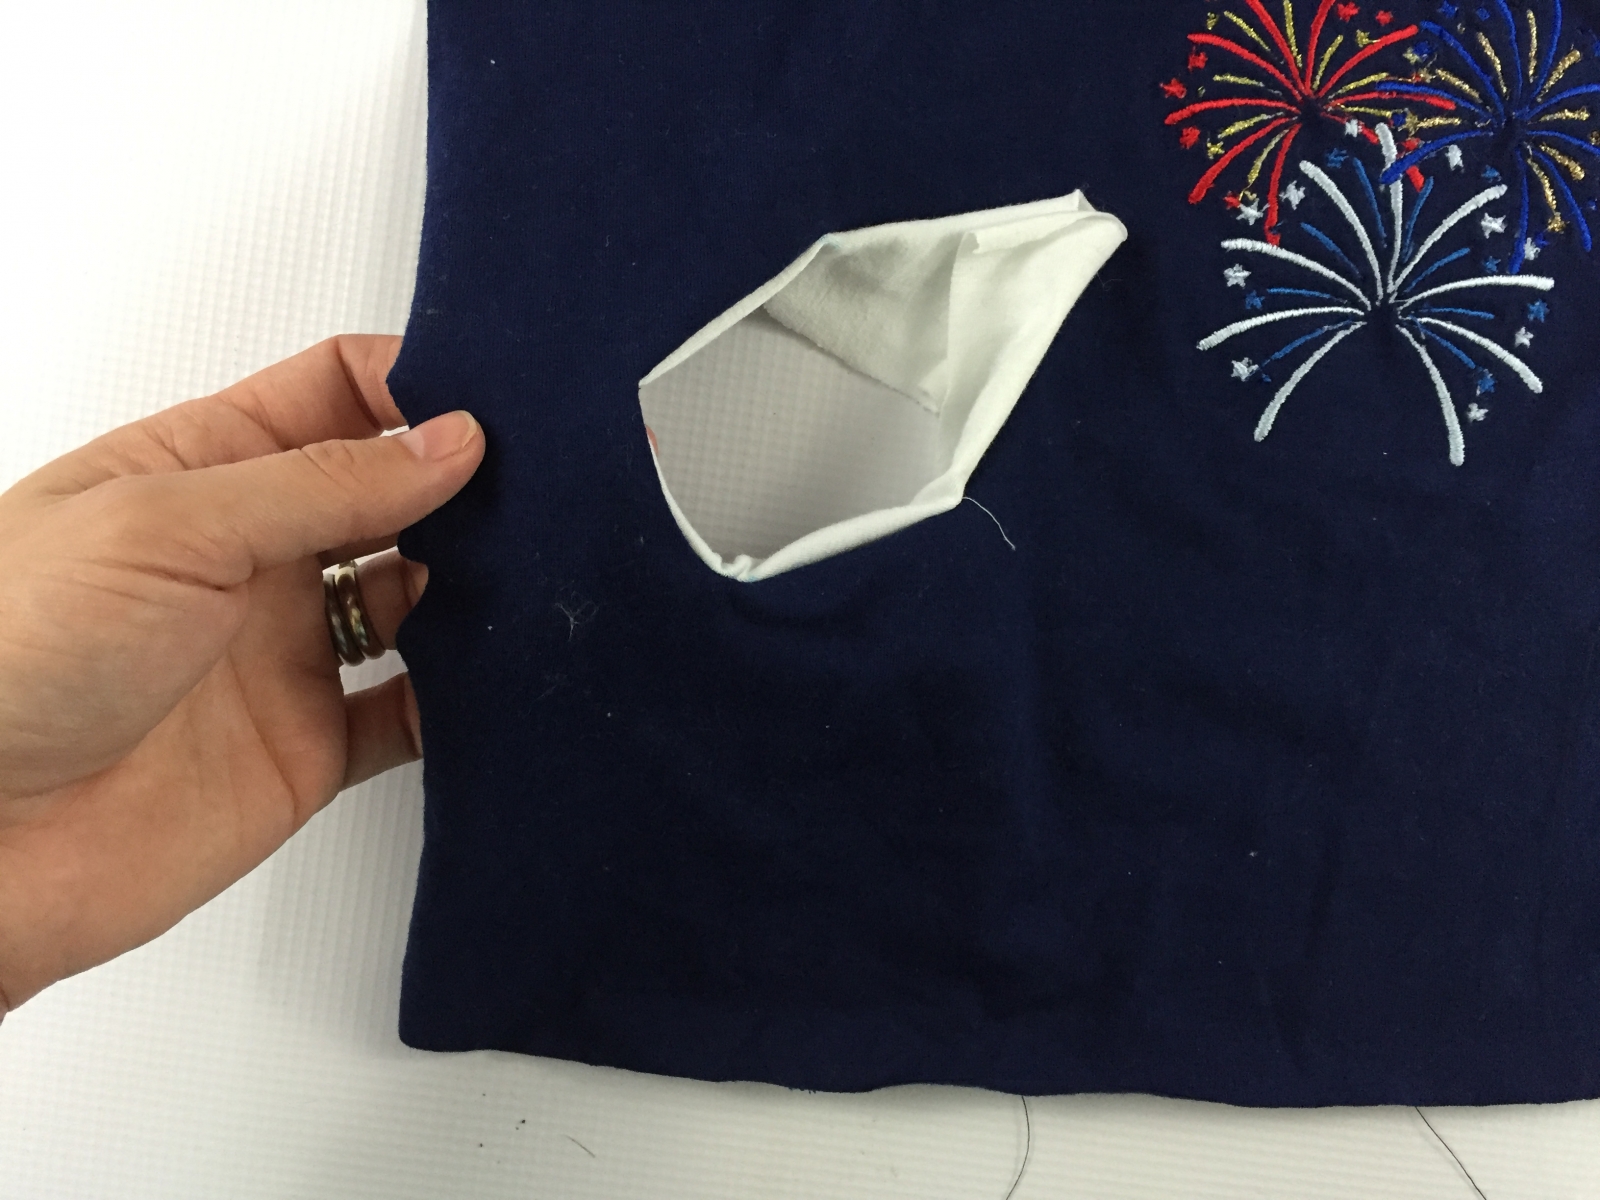
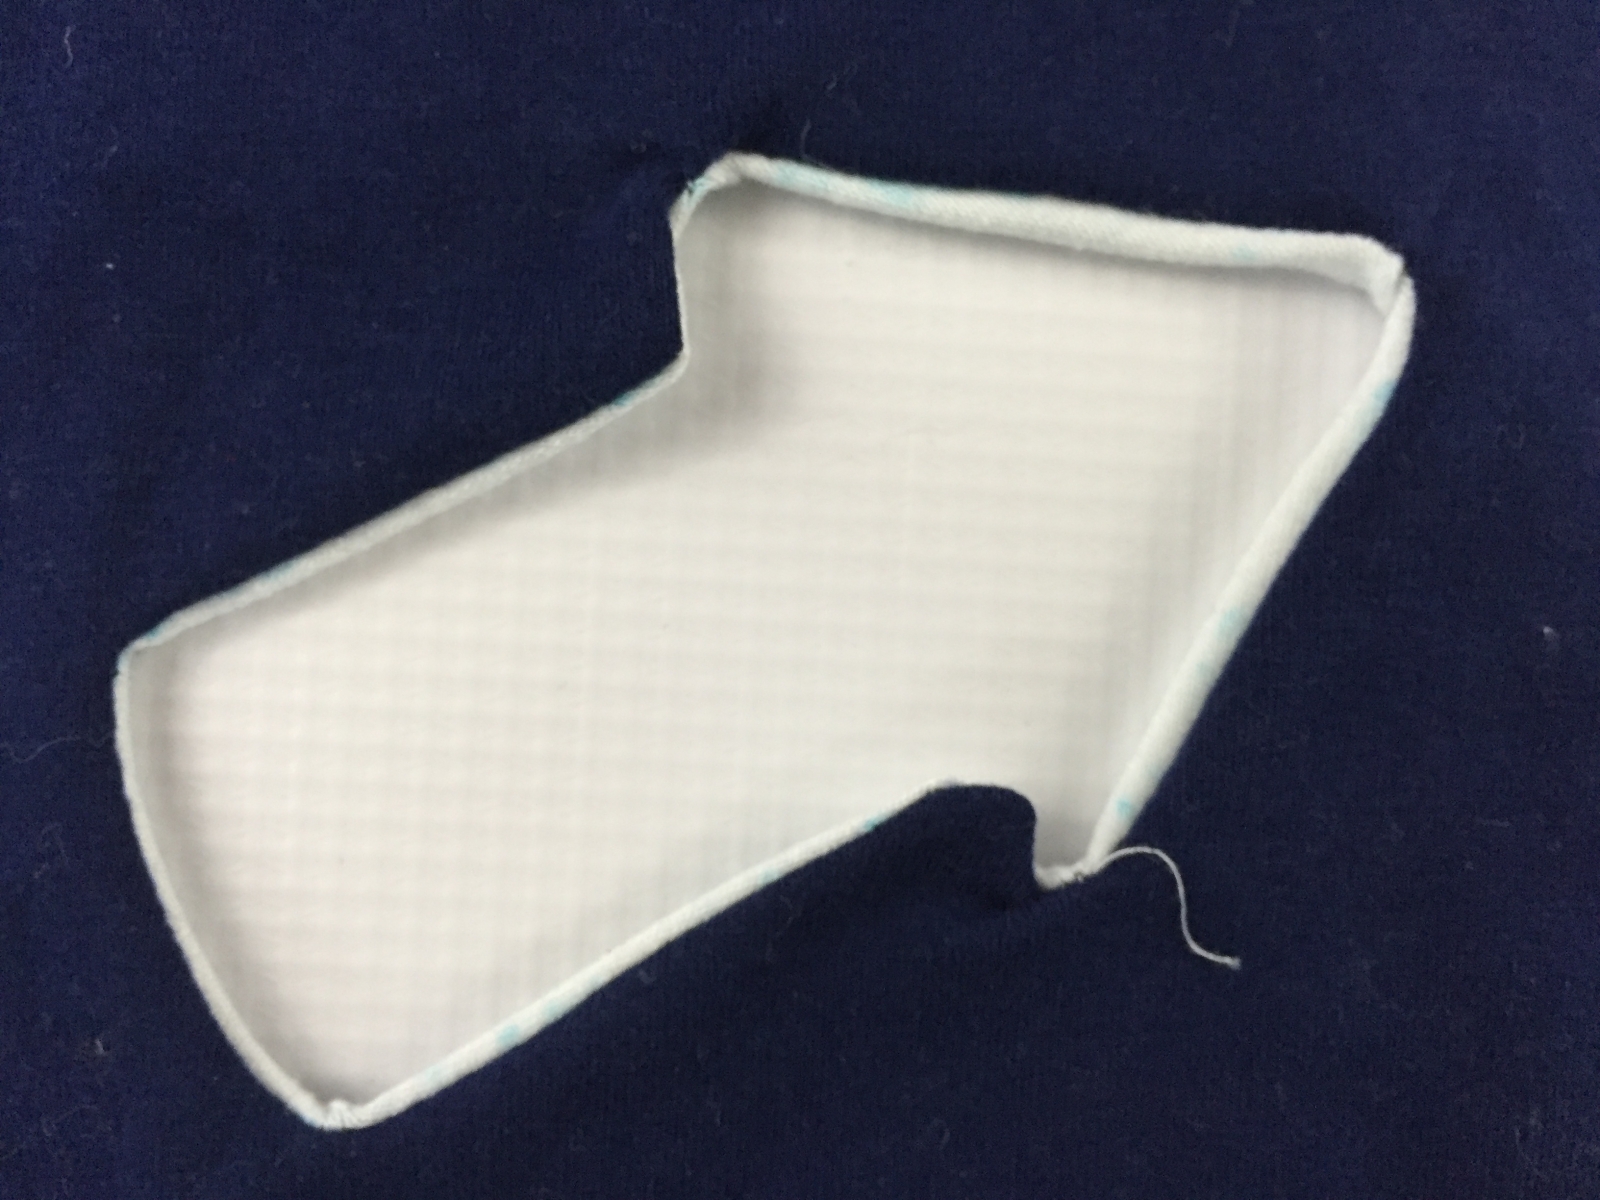
Top stitch all the way around your design. It may be a little wonky, so give it a good iron when you're done.
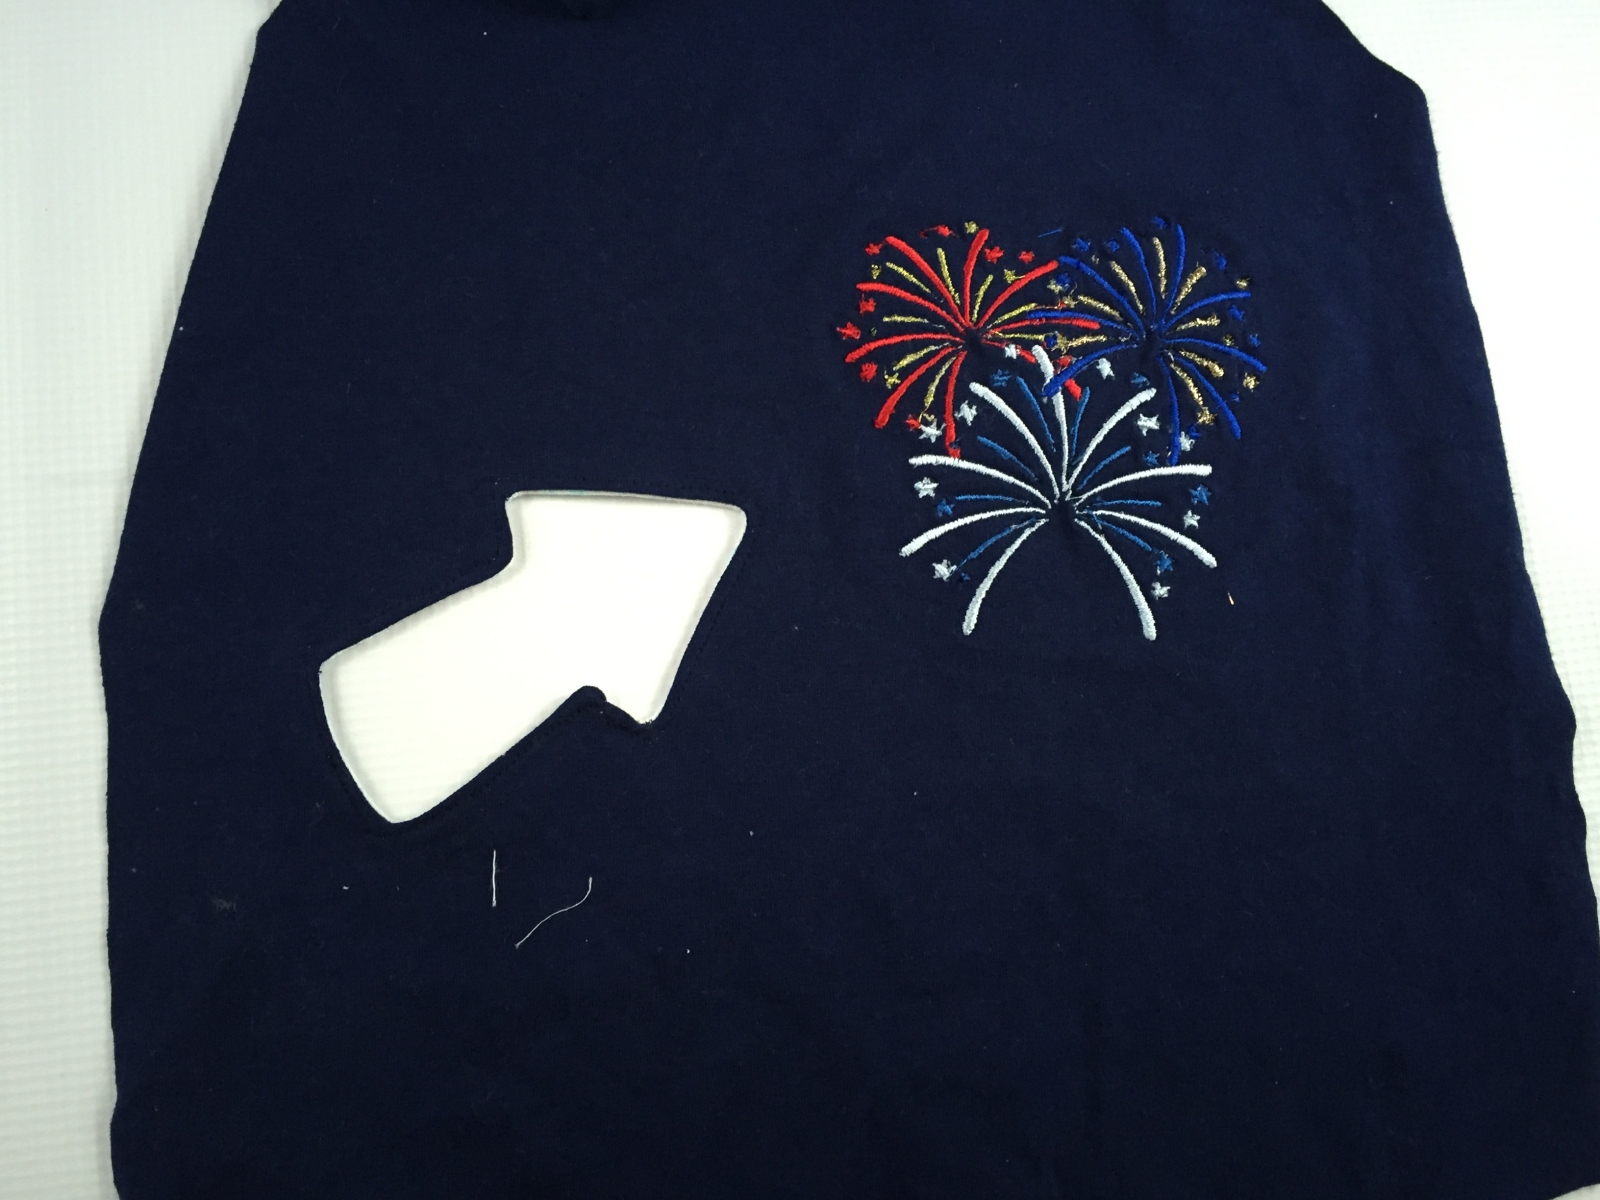
I like to go back and clip away the scrap from the wrong side. Be careful not to clip through the front of your shirt when you do this.
That's it! Now you're ready to continue with your shirt construction.
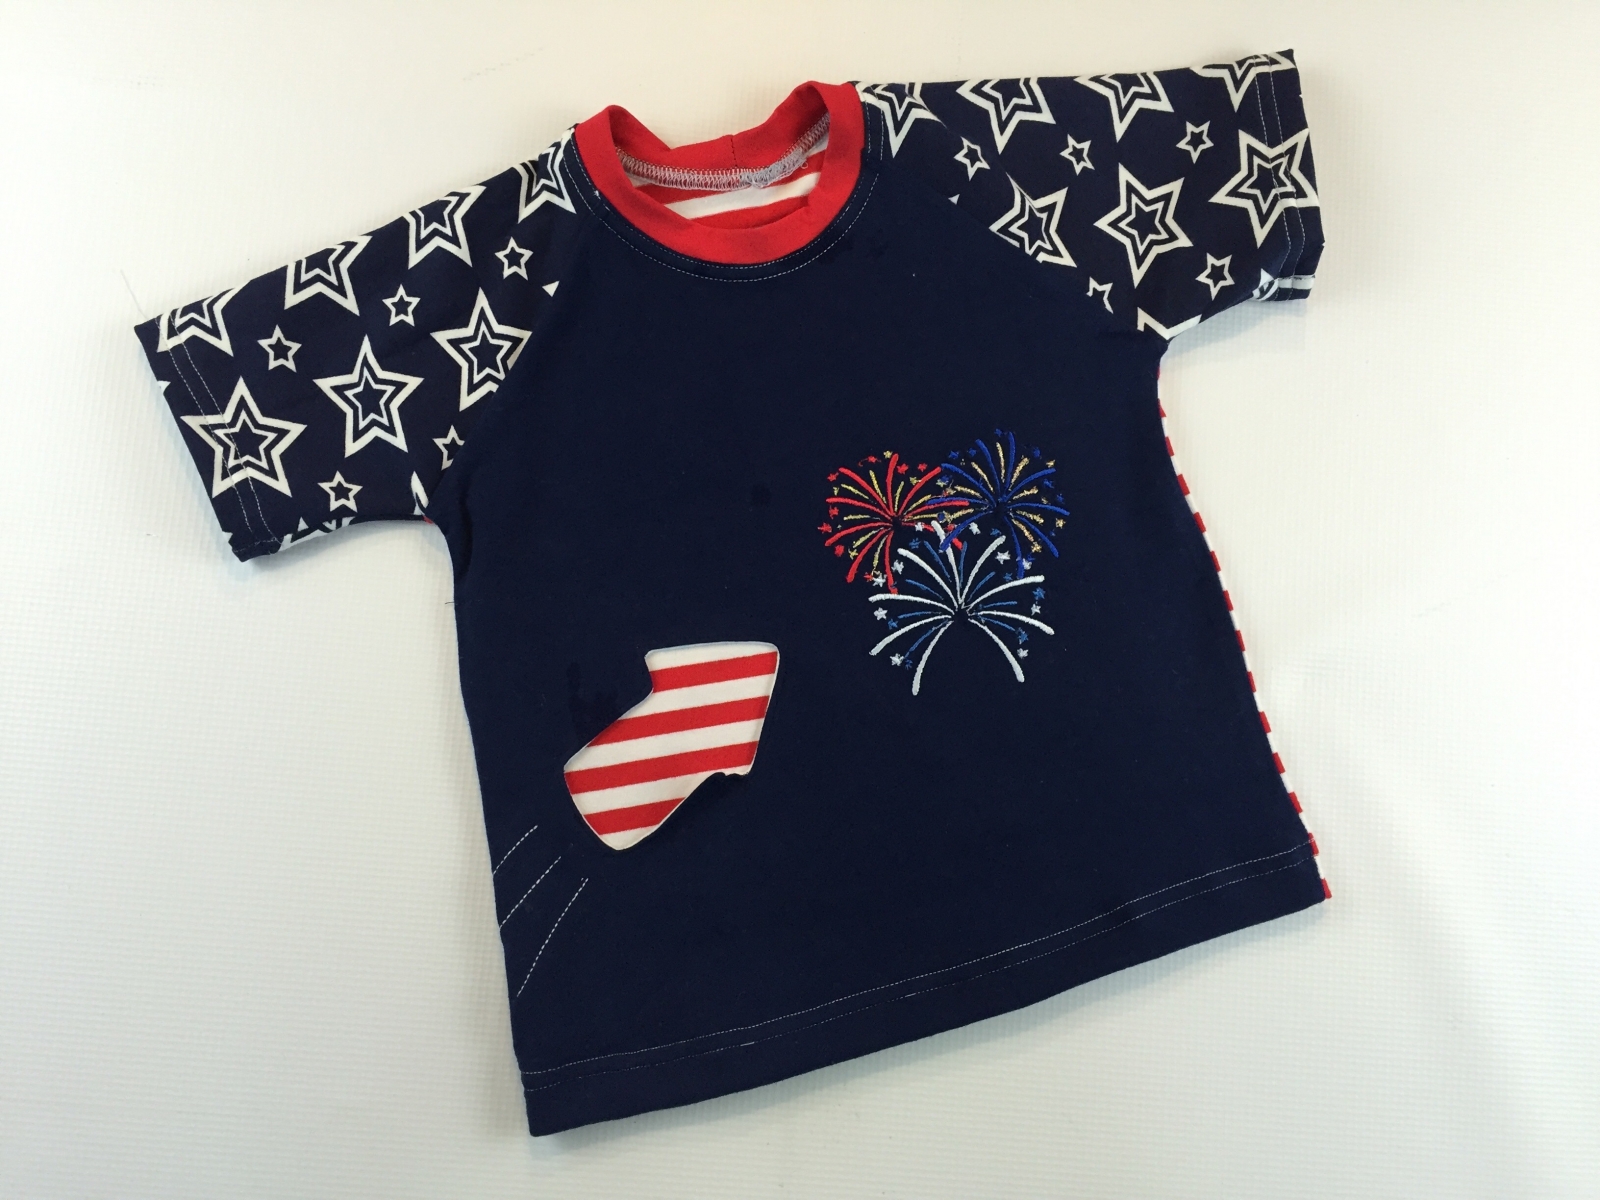
The Treasure Pocket Tee is great for this trick as the pocket is large enough to accommodate different hand openings, but the Roller Coaster Tee (and the women's equivalents of the two: The Ladies' Pocket Tee and the WRCT) are awesome for this as well.
It's a great trick for holidays (Christmas tree hand opening? Pumpkin? TURKEY?) Make sure to keep your lines simple - the simpler they are the easier the turning and top stitching will be. If your design has features that will flap down, you may want to insert a small corner of stabilizer between the scrap and the shirt front after you've turned (but before top stitching.)
Oh... Wait... Before I go, I wanted to leave you with a gift.
Use Code:
BOOM2 for 20% off two patterns
BOOM3 for 30% off of three patterns
BOOM4 for 40% off four patterns or more.
(Single pattern listings only, Bundles and add ons excluded)
I wish everyone a happy and safe Fourth of July! I will see you after vacation with new patterns!