Adding ease to the hips of the WRCT
Adding ease to a pattern with a plani and separate front and back piece is pretty straight forward. Things become a little more complicated when the pattern is color blocked, and when one of the color blocks wraps around from the back to the front of the shirt, all bets are off.
The WRCT is one of my favorite patterns, but it is also one of the most difficult to grade out at the hips. Many people size up entirely, which works but is not ideal. In this blog post, I will show you how easy it can be to add ease to the hips of this fan favorite.
You will need:
The pattern, printed out in the size of your choosing
paper scissors
marker
ruler
tape
extra paper
.JPG)
Step 1
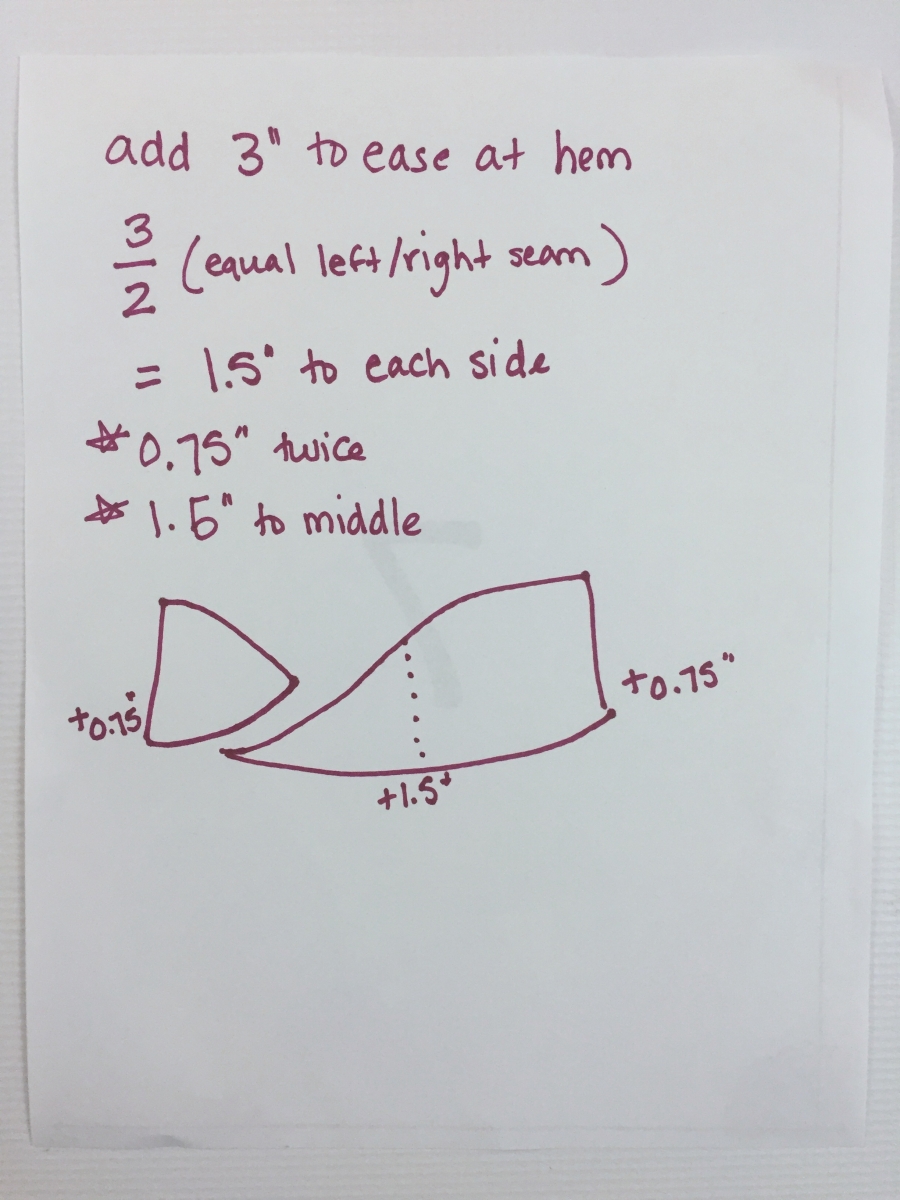
Figure out how much ease you would like to add to the hemline of the shirt, I will be adding 3" ease to mine.
Since you want to add the ease equally to each side of the shirt, divide that number in half. I will be adding 1.5" to each side of the shirt.
Divide that number in half again since you need to add to the back and front of the shirt equally. I will be adding 1.5" to the middle of the wrap around piece, and 0.75" each to the front and back of the opposite seam. It will make more sense when you see the pattern pieces.
math
Step 2
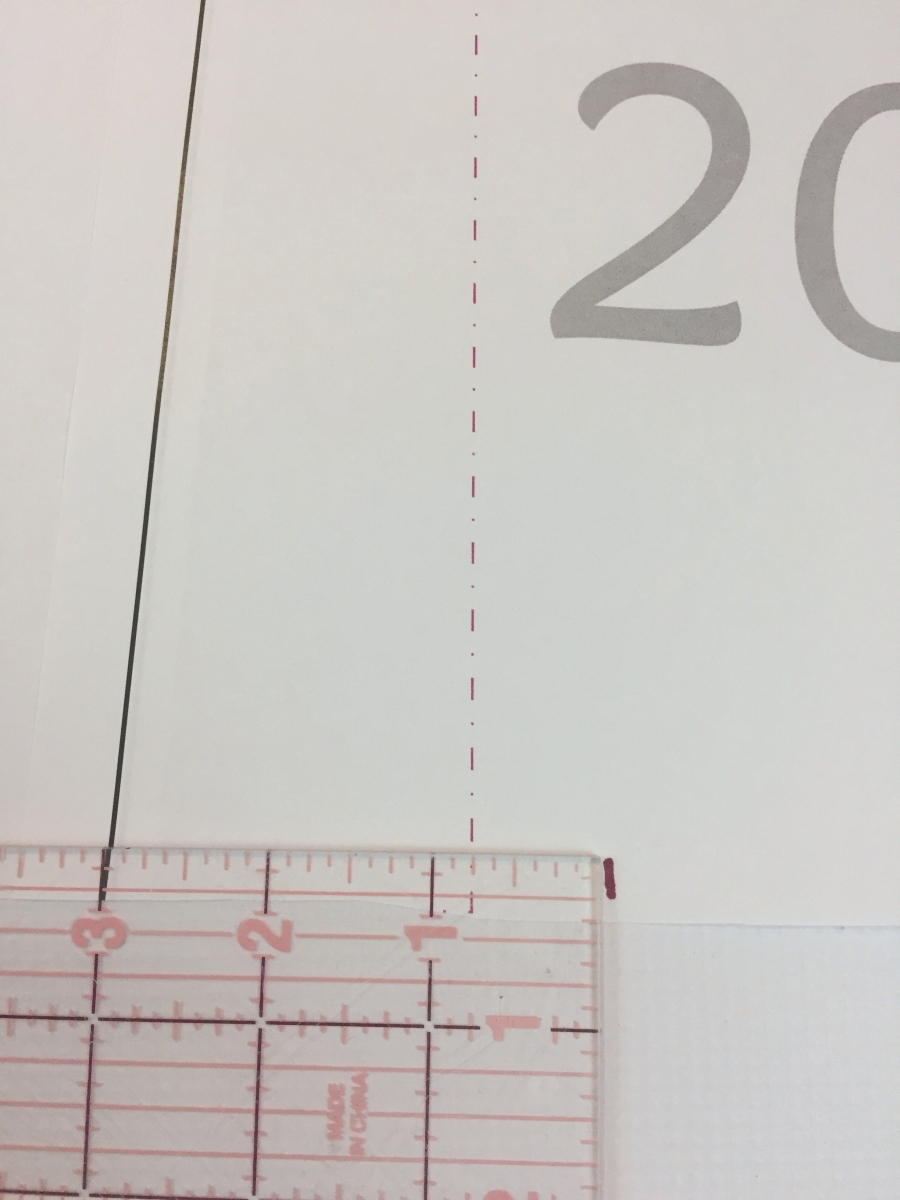
Tape a piece of paper behind the cut out pattern at the side seam of the wrap around piece. Using your ruler, measure one quarter the amount of ease you wish to add to the hemline. Here I am measuring 0.75". Then I will draw a straight line from the existing side seam to the new mark.
Existing seam line with mark for extra ease, new seam line shown in solid.
Repeat for the other side seam, the straight edge of the pocket piece.
Step 3
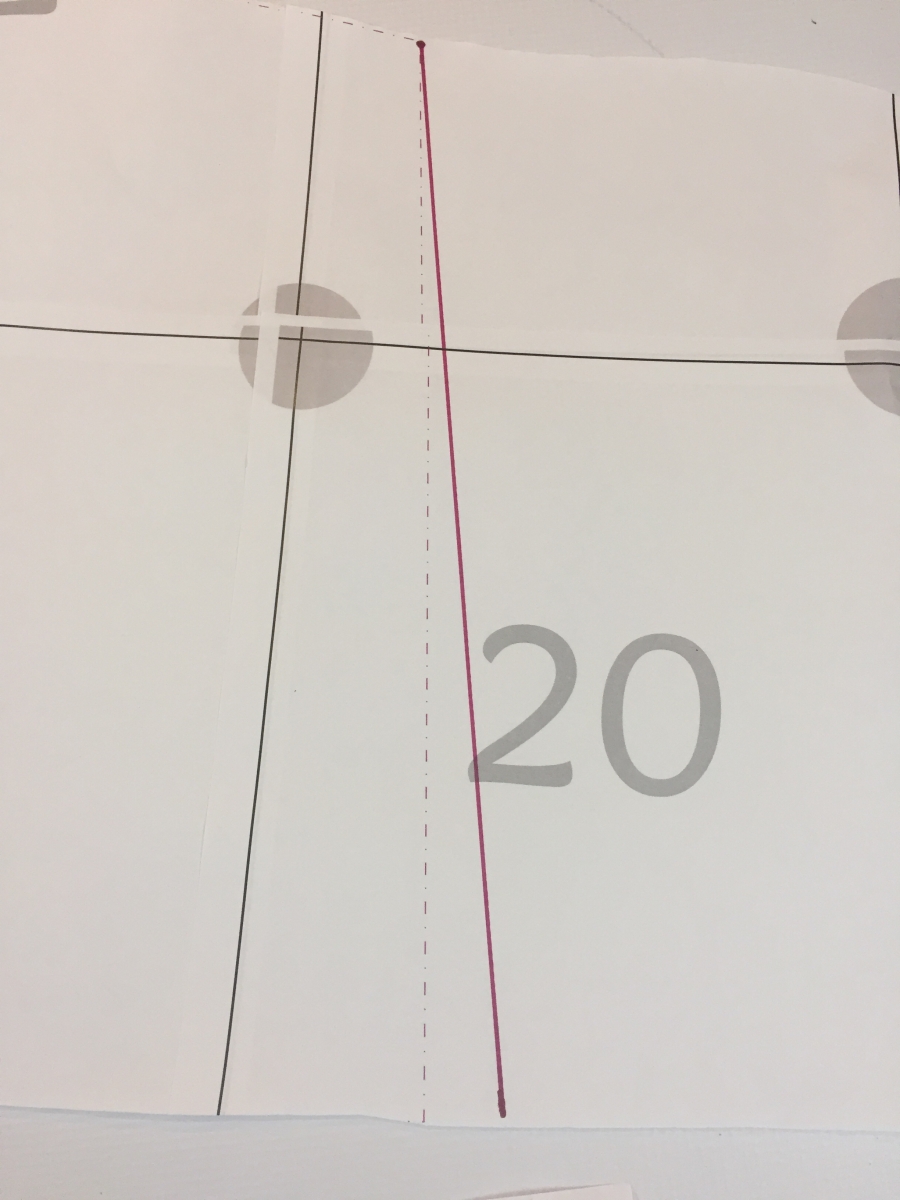
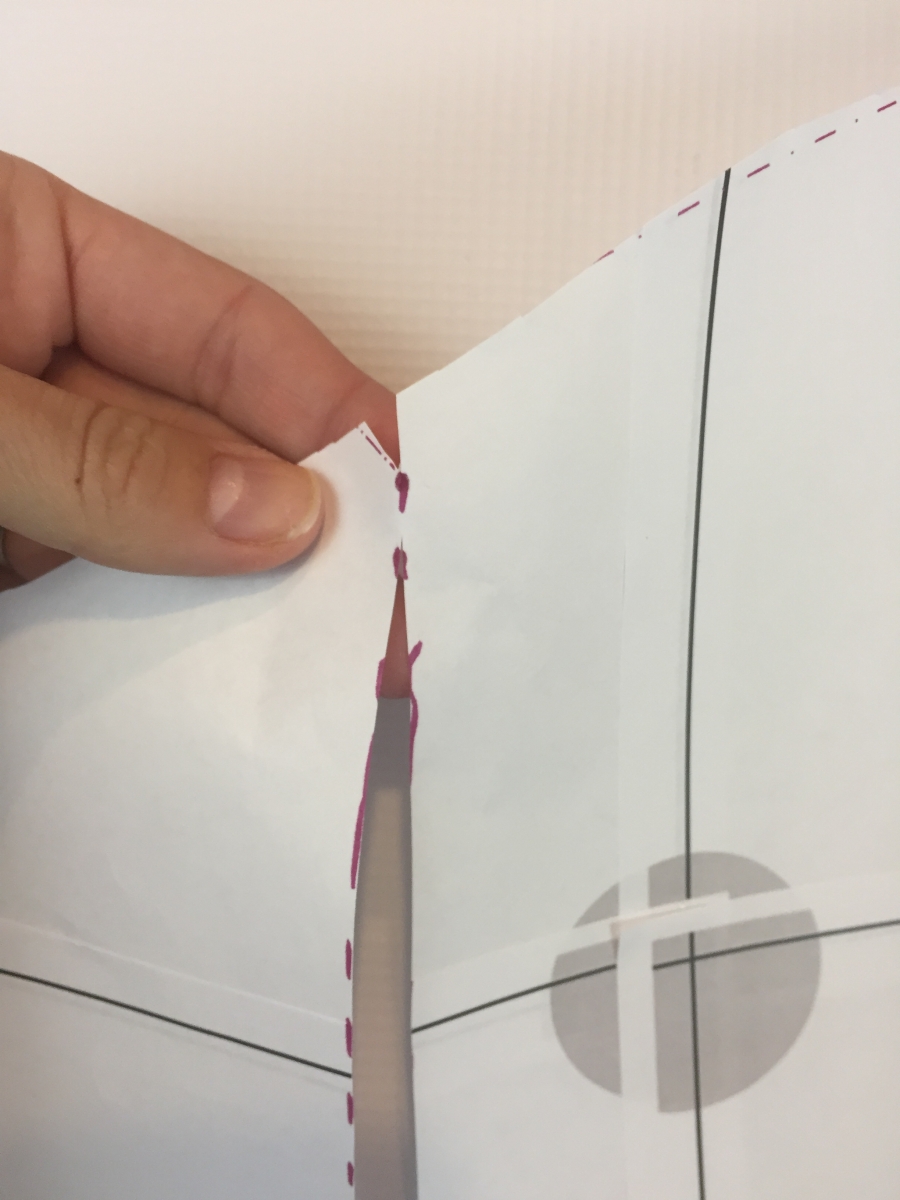
The wrap around piece has a notch along the curve facing inward. This notch marks the placement of the side seam of the shirt. Draw a straight line down from that notch, perpendicular to the hemline.
Cut along that line ALMOST to the top of the piece but NOT THROUGH,.
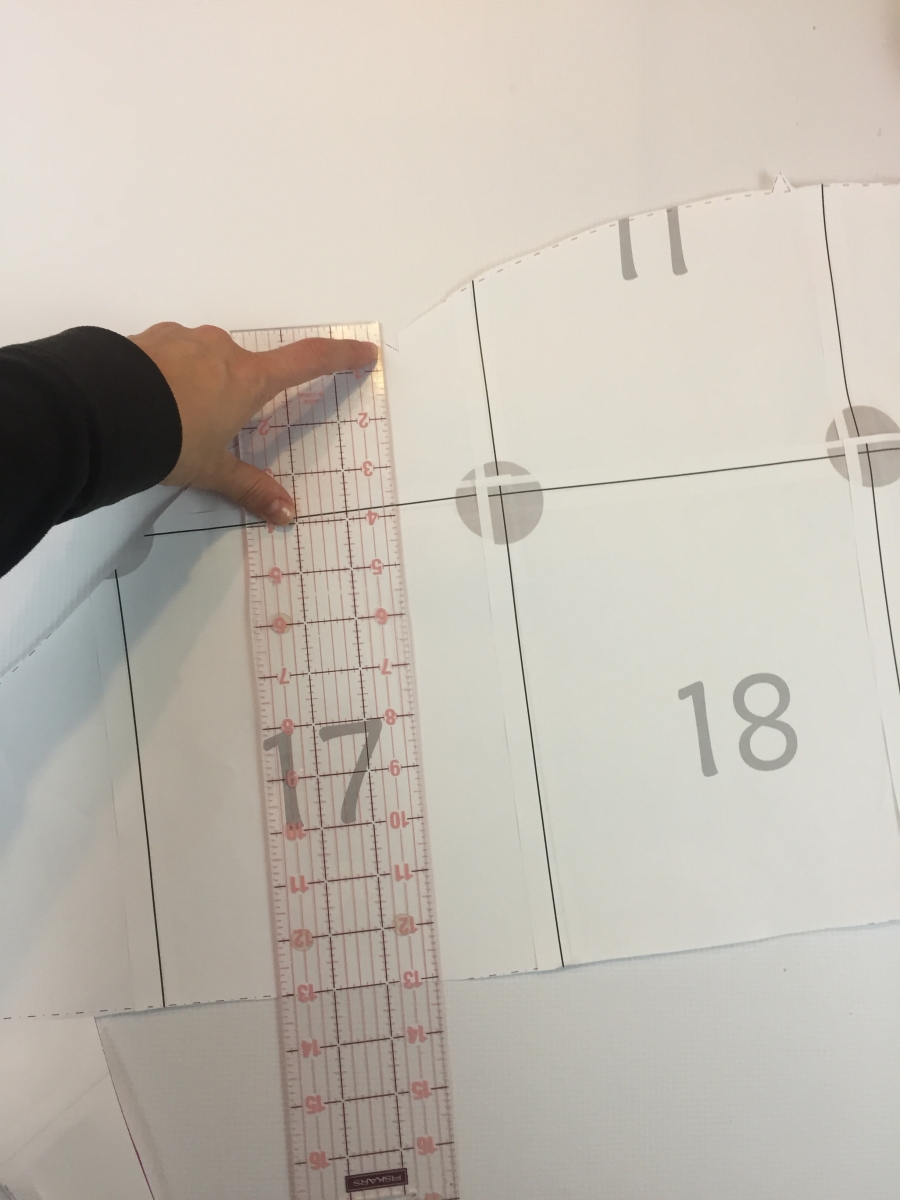
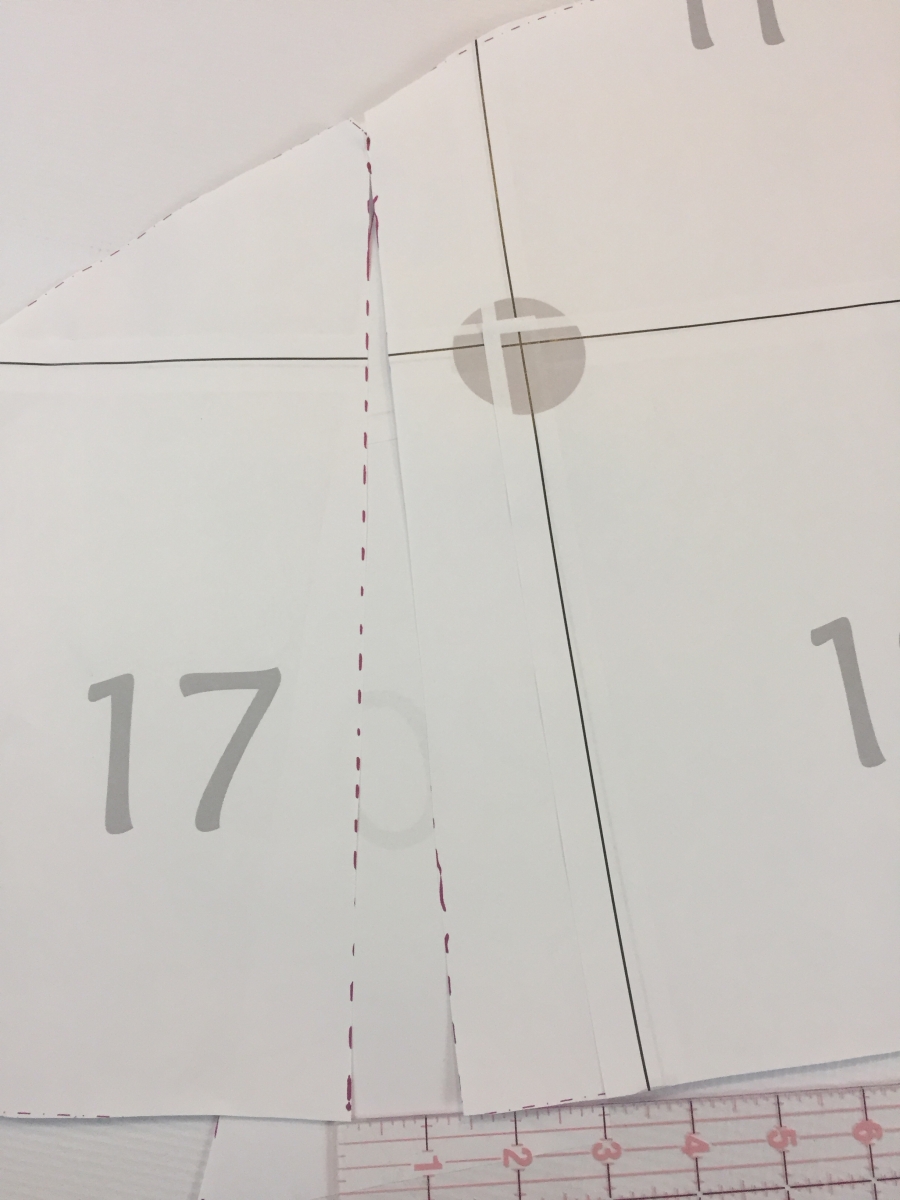
Spread the pattern piece apart by half the amount of ease that you want to add to the hemline. In this instance, I am adding 1.5" (since this cut will represent both the back AND the front of the side "seam".
Tape the pattern piece down on another scrap piece of paper and reshape the hemline.
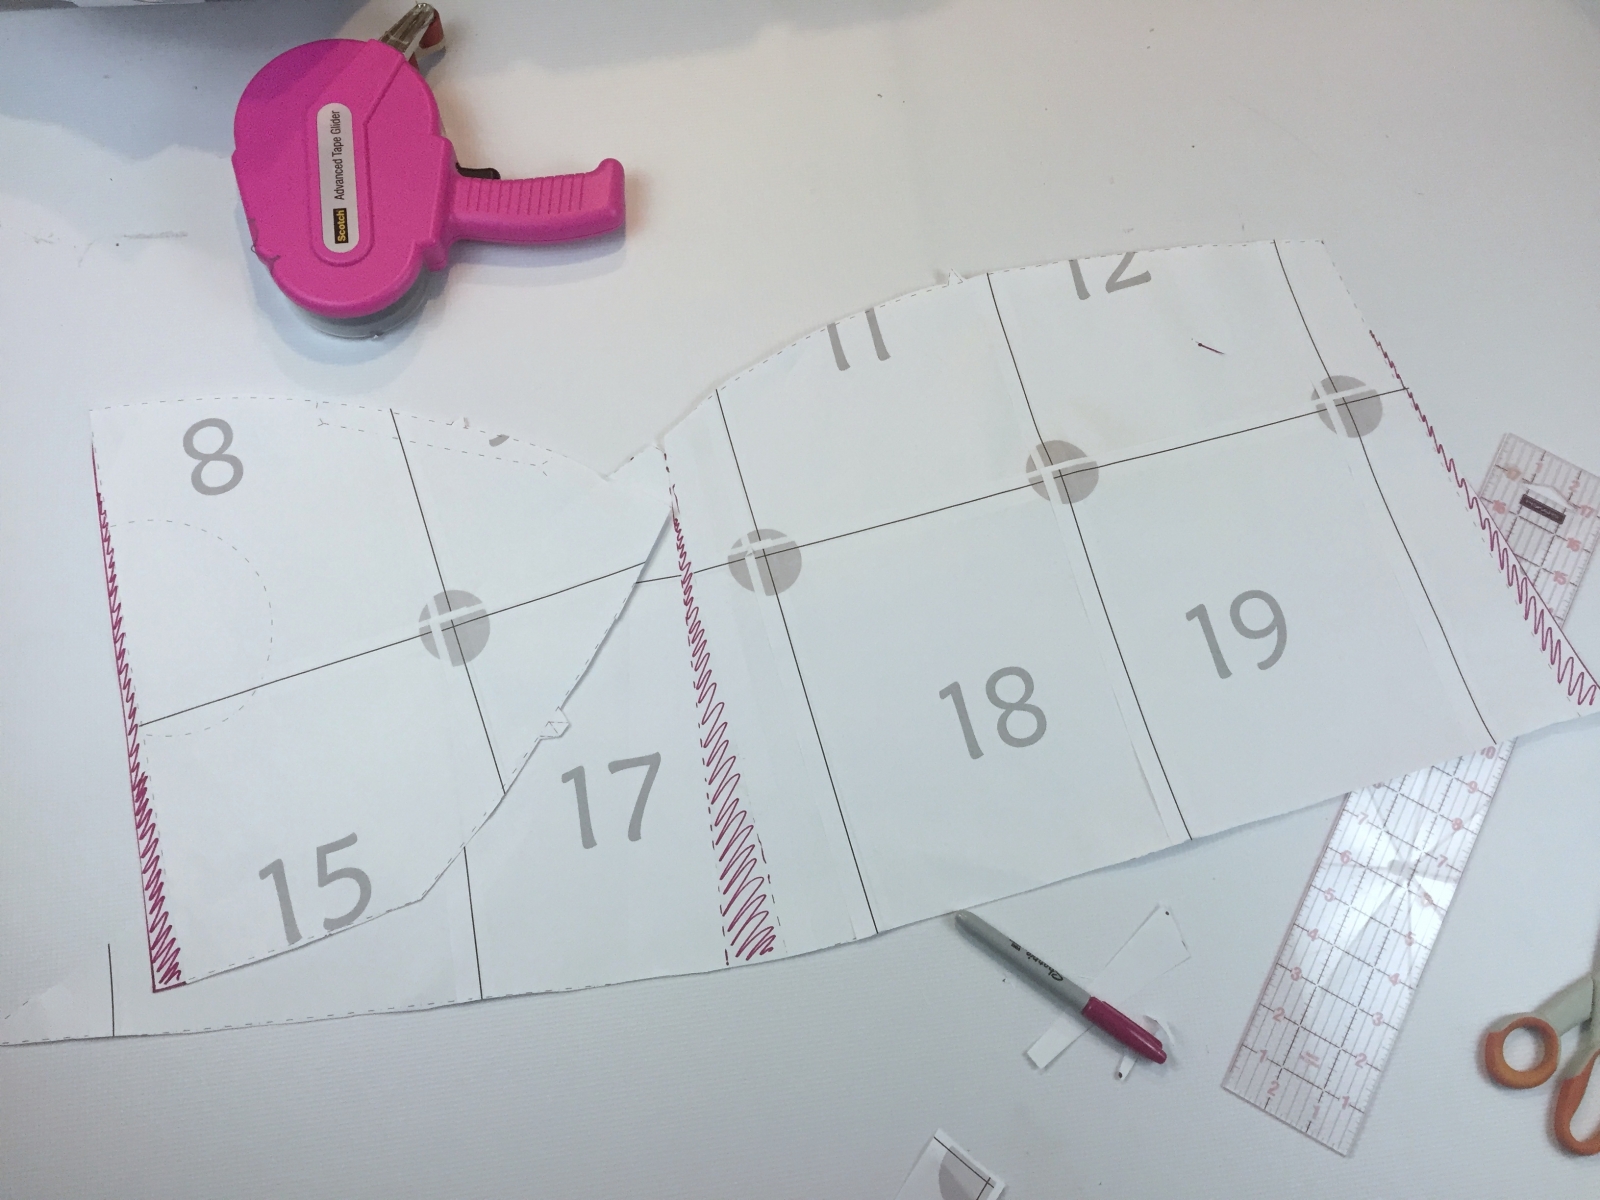
Step 4
Use your new pattern pieces to make your WRCT! I have shaded the added ease so that you can better see the what the finished pattern pieces will look like.
If you try this hack, please post your results to the facebook group!
If you don't yet own the WRCT, NOW is your chance to pick the pattern up as it will be only $5 through Monday! Pick up the kids' version for $5 too while you're at it ;)
http://www.duckbuttdesigns.com/catalog/specials-and-bundles
Happy Sewing!
Katie
If you have an idea for a guest blog post about how to modify your favorite DBD pattern, contact me on Facebook. If we decide to post the blog, you get a free pattern!