Making the Skippertoo top Port accessible
Hey y'all, we have been EXTREMELY fortunate to have a wonderful guest blogger today! Michelle Racher is an amazing mom, sewist, friend, champoin, and all around great person. You may recognize her name from Fabric Stache (and their amazing fabric, which you can buy at https://fabricstacheshop.com/) Michelle generously offered to walk us through how she adapted the Skippertoo top to be port-a-cath accessible and simple to put on, even with a broken collar bone (or both, as in the case of this little warrior, Avery). If you try this mod, I encourage you to share on the DBD group and let us know how it works for you (or your recipient).
_________________________________________________________________
Sewing has been a part of my life since I was a young teen. It took a back seat to various stages of life and in others it was literally my identity and a beyond full time effort.
These days, at THIS stage of my life it is what I call in a "semi- reclined state". When I am well enough, I find joy in creating; however, getting myself into the studio lately takes a strong project of the heart.
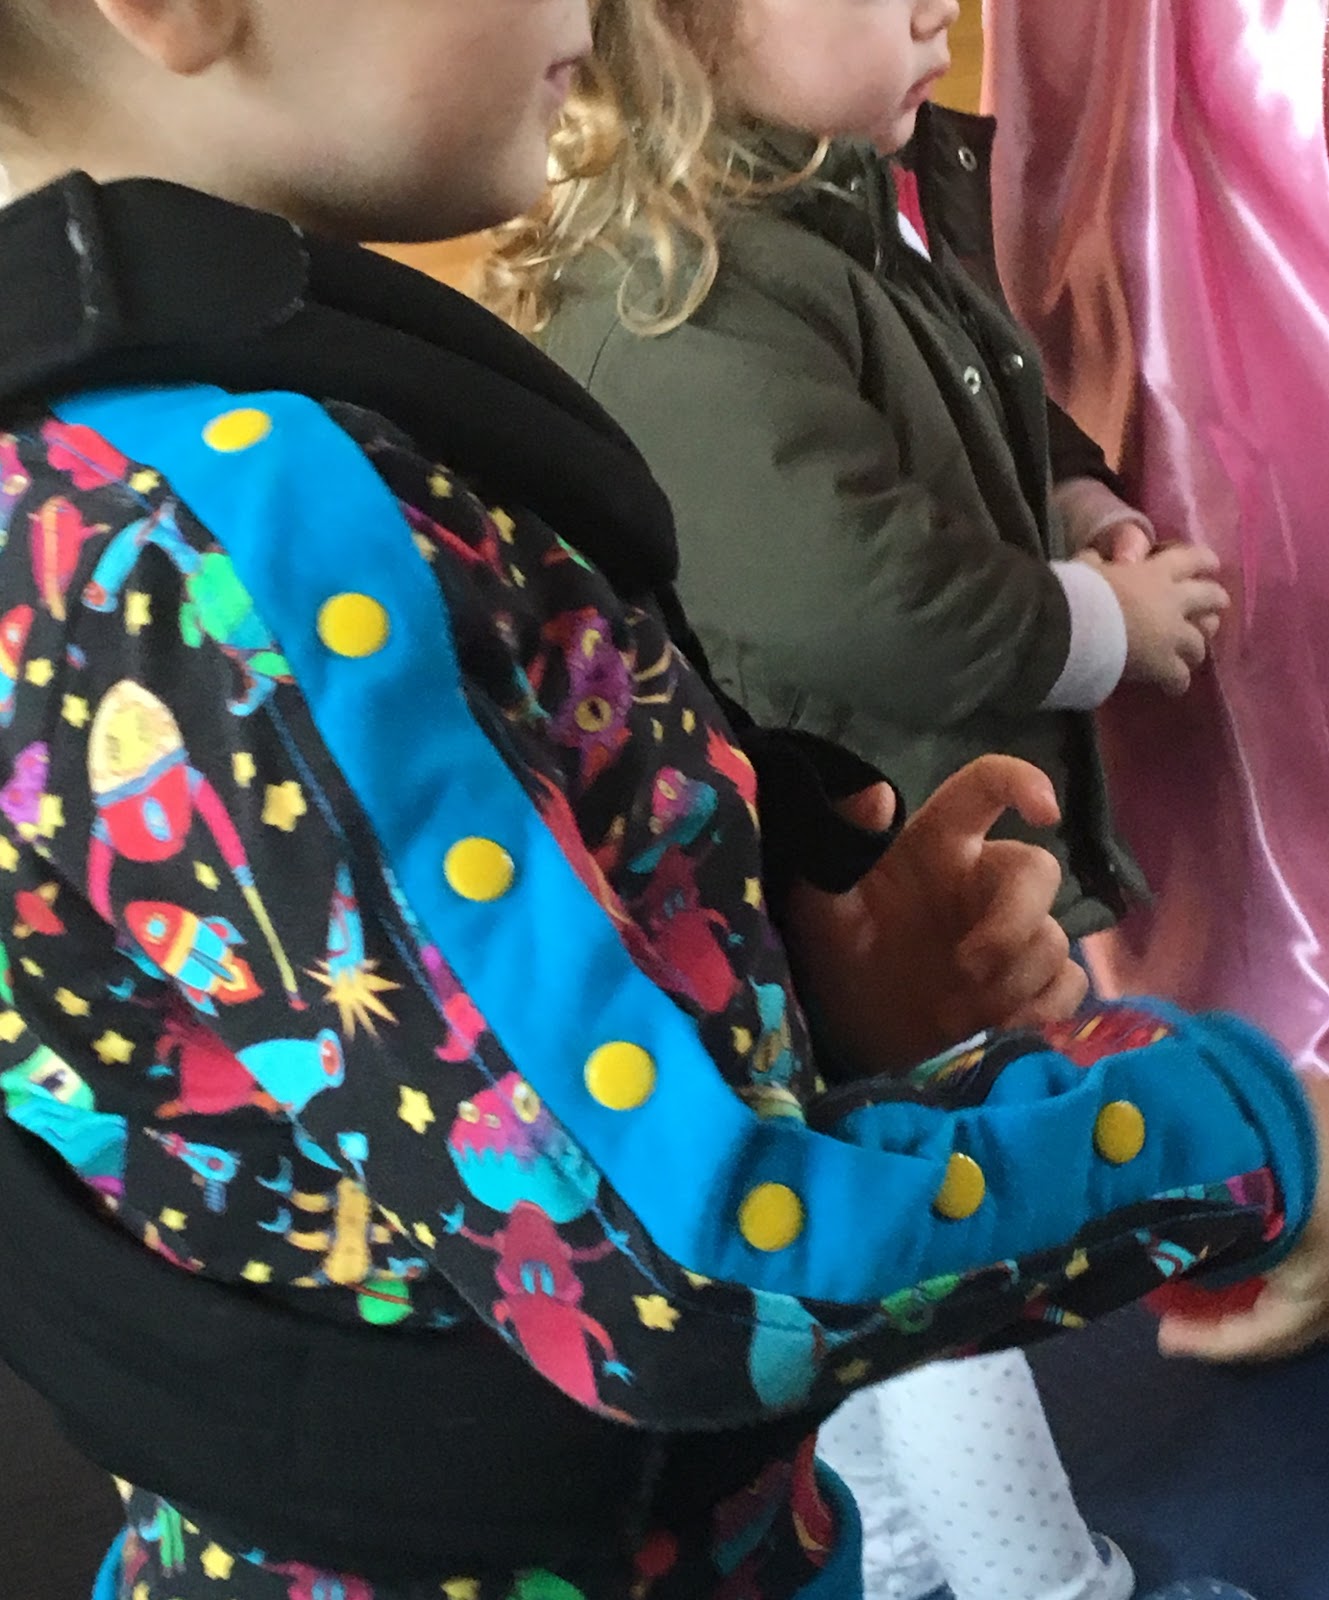
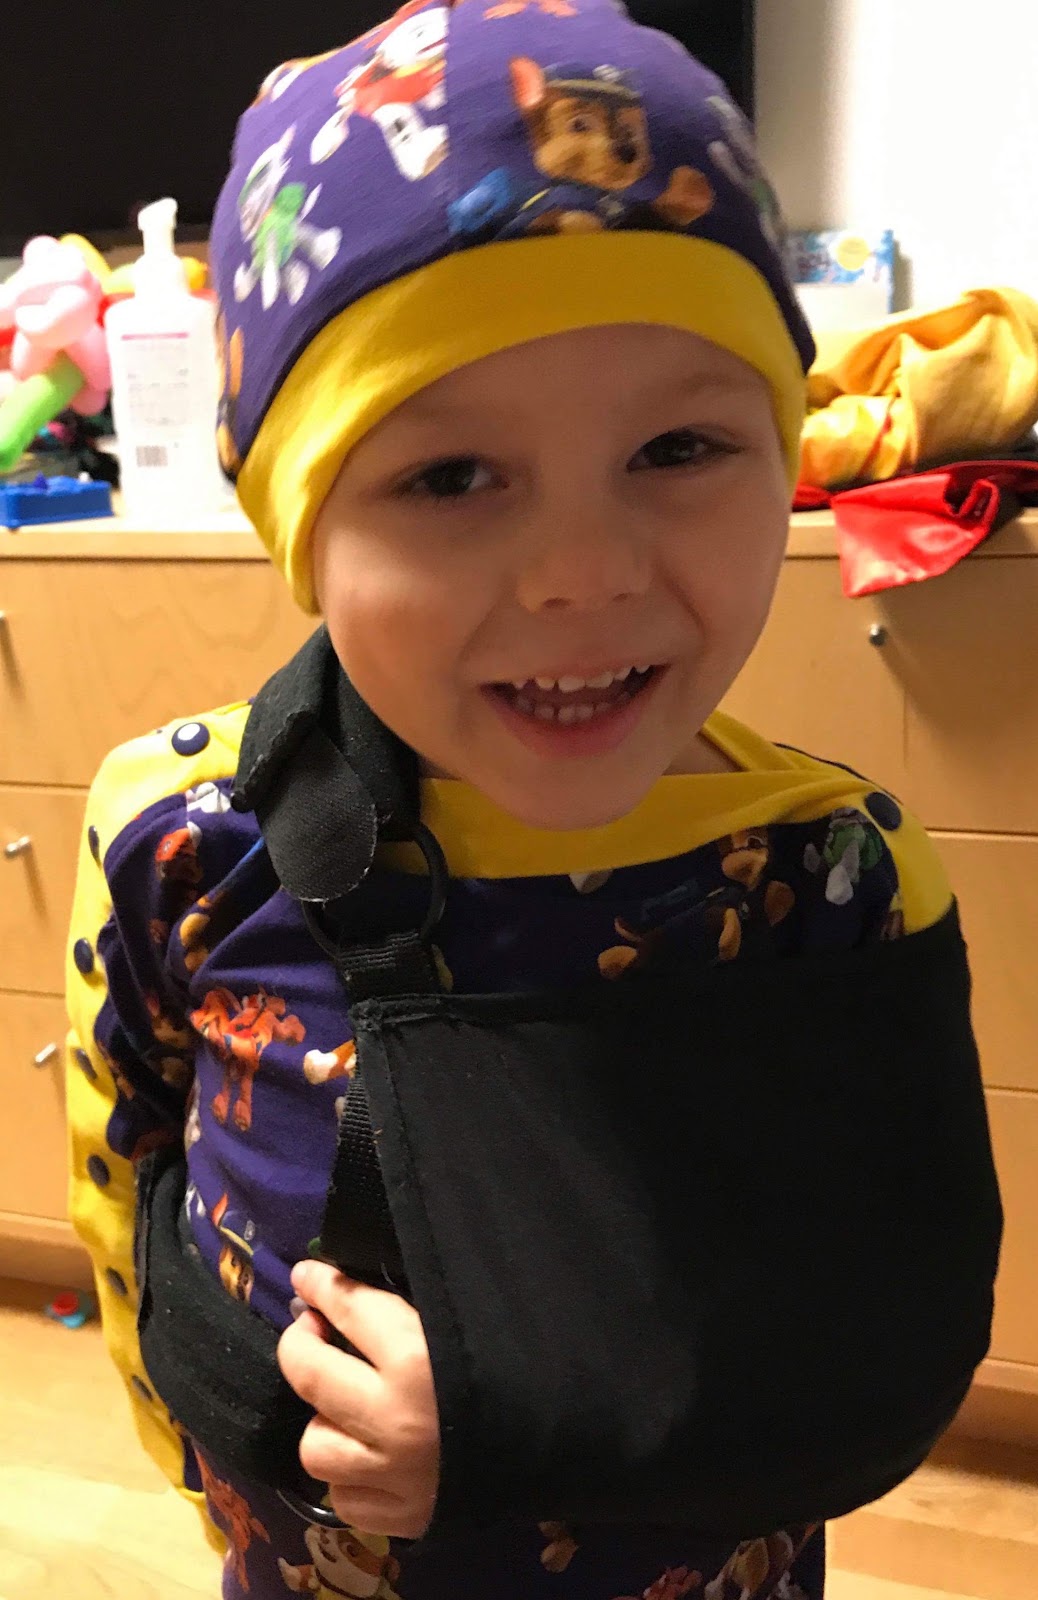
This is one of those profects. Pictured (above) is my little buddy, Avery (with his shirt on backwards, as is typical!). This is actually the second "heart project" of mine that Duck Butt Designs has been involved with for this child. Last summer, I hosted the Stacehstastic Summer Chemo Cap Sewing Challenge, which was all inspired by Avery using Katie's Beanie Pattern (Available for free HERE). Over 500 Chemo caps for kids were made that month!!
Avery completed his treatments late last fall. He beat Wilm's Tumor, a kidney cancer, but lost his kidney the day after his third birthday during the battle.
Earlier this spring, he was scheduled to get his port out during a three month check up after being declared cancer free. Unfortunately, that day a new egg sized tumor was found and the battler is on once again, almost 1000km from our home town.
I was going to be staying with my own son for his medical issues at the same facility, at the same Children's hospital and I could not arrive empty handed. We would be arriving during Avery's first round of chemo. I knew that his chemo shirts I made last summer had been passed on to another family. I planned to make more before leaving.
Then something complicated the plan. When he was being pulled in a wagon (a typical mode of transportation for medically fragile kiddos), he took a spill and broke the collarbone opposite his port. Poor kid, right?!
I put out a call to see if anyone had ideas and literally 30 seconds later, Katie was binging my inbox with ideas and workarounds. This is an overview of how I went about altering the Duck Butt Designs Skippertoo Tee with Katie's thoughts to be a fully accessible garment for a child who is using a port for chemo as well as a broken clavicle. The lattern lends itself naturally to this use and was an easy alteration.
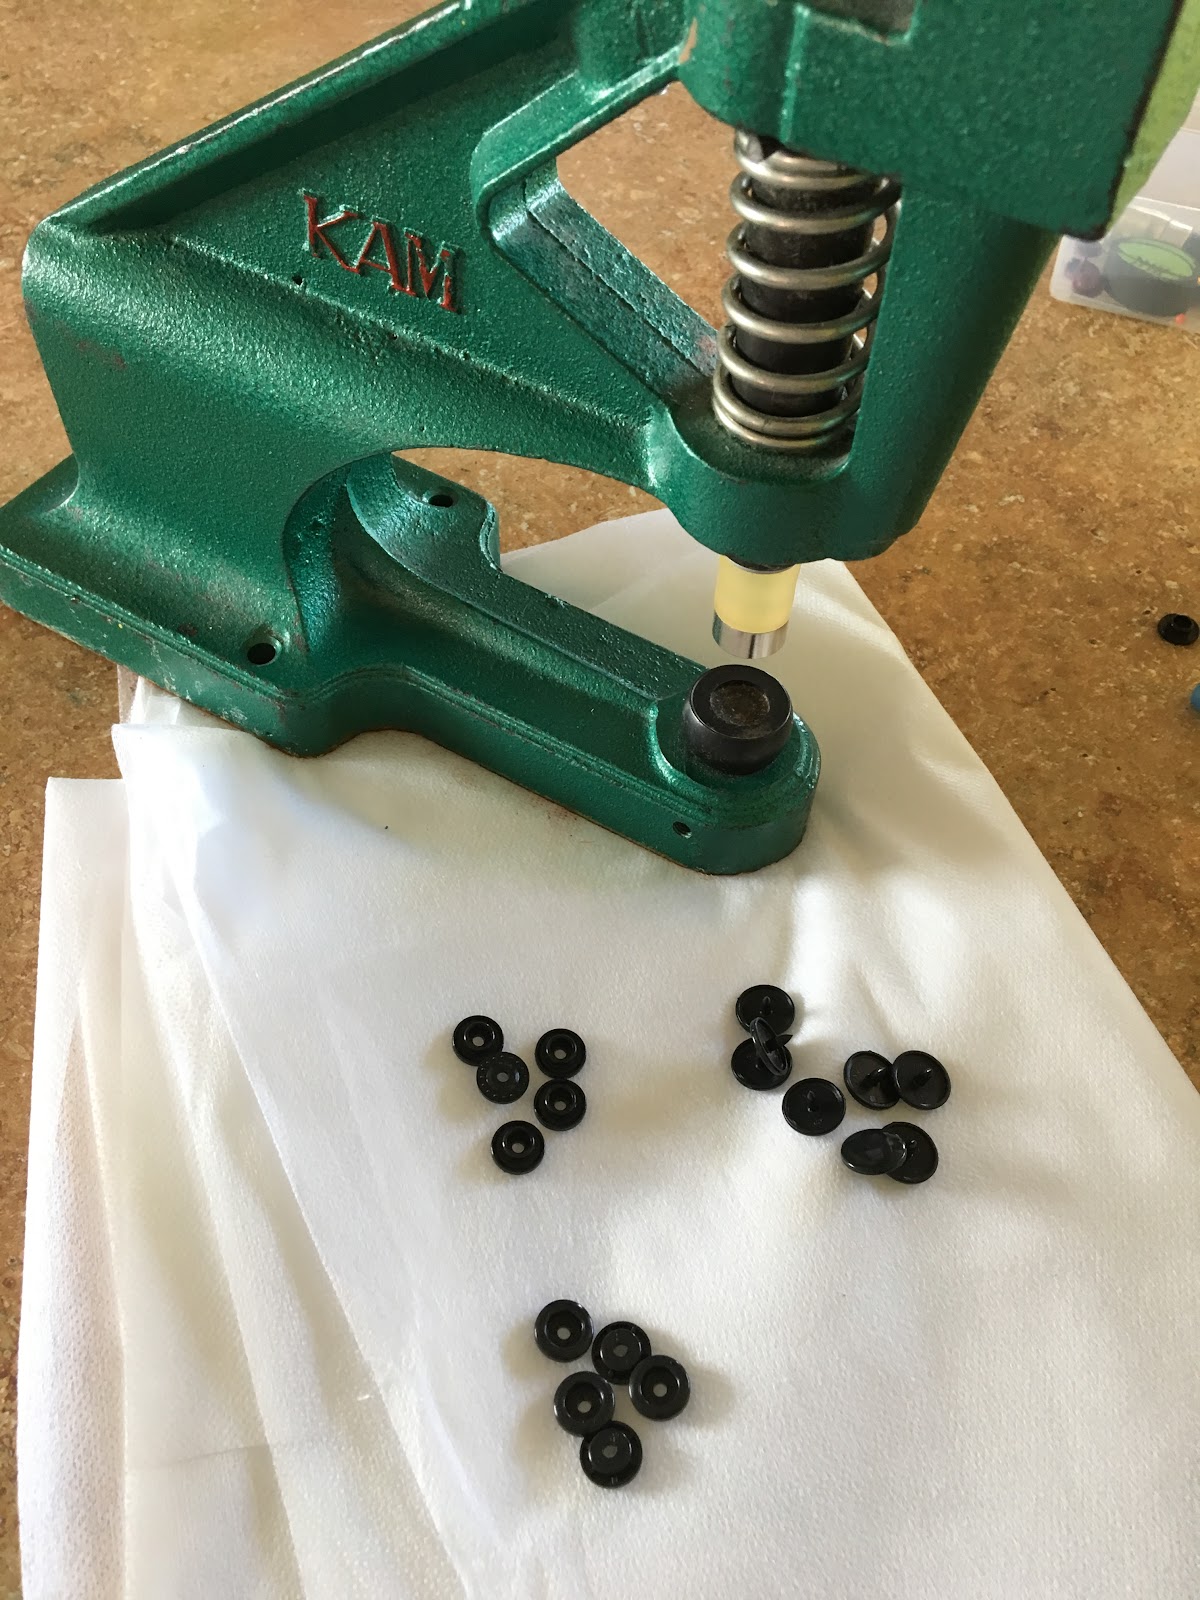
You will need some extra supplies for this project: stabilizer, snaps, and a snap press or snap pliers.
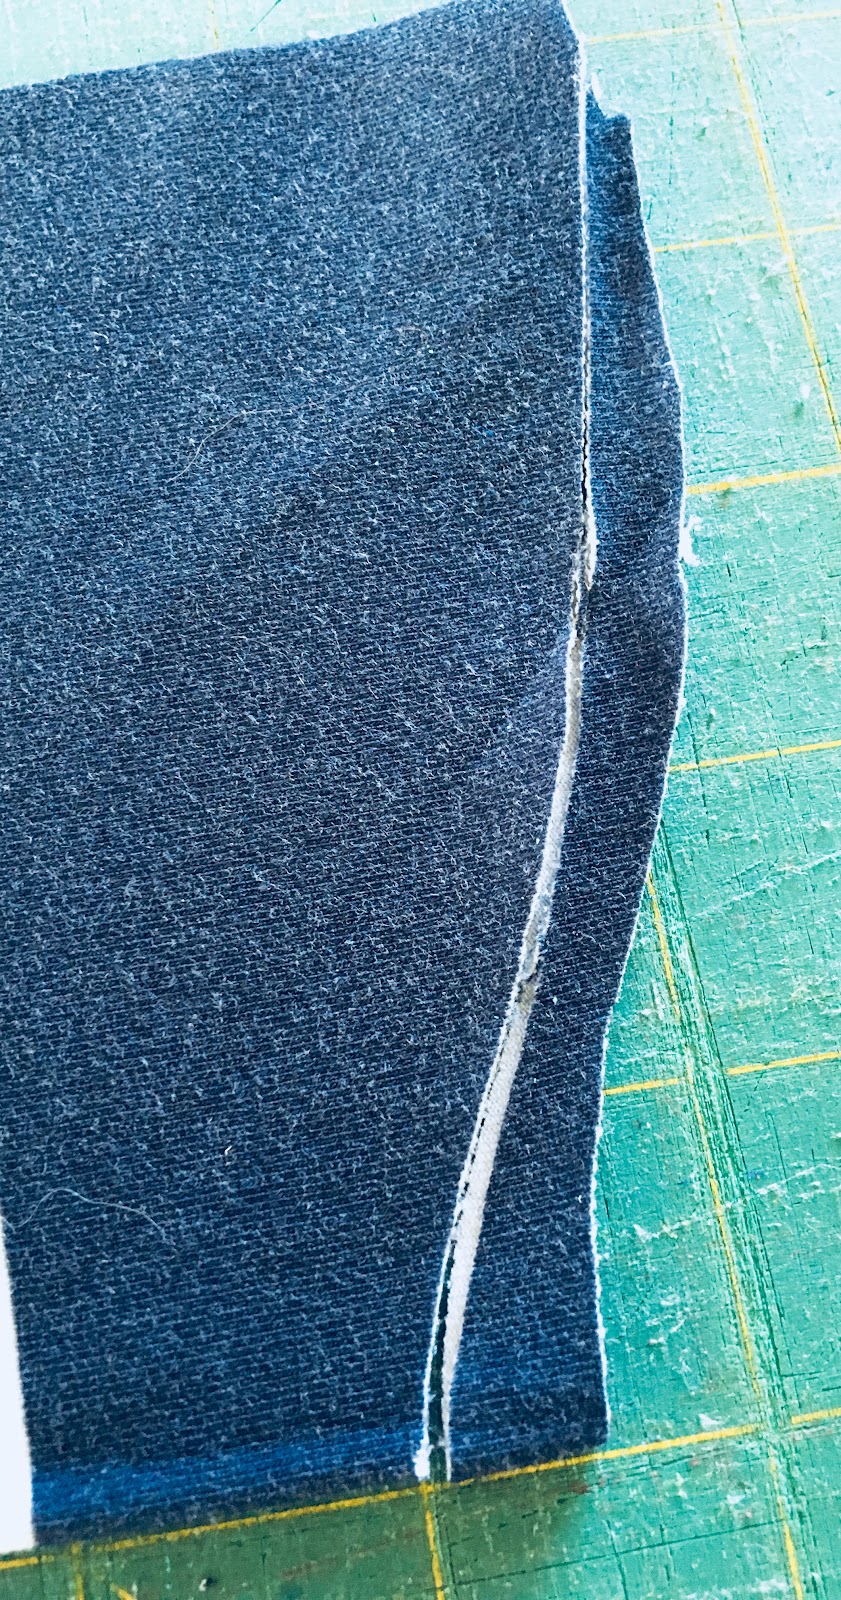
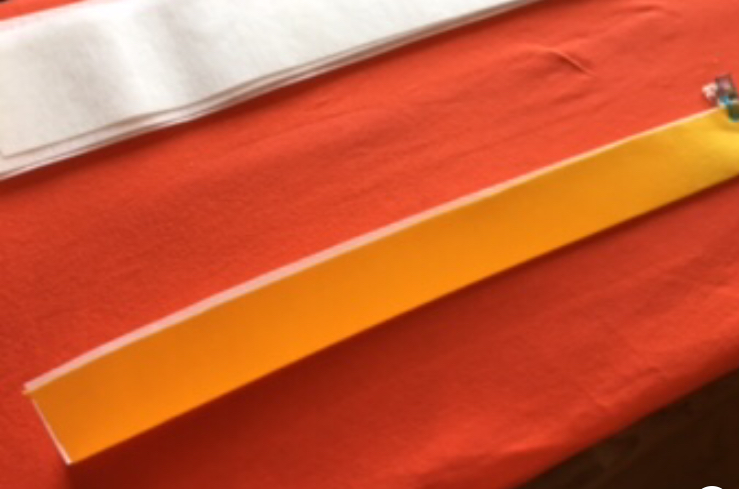
Step 1. After piefcing your pattern, there is one piece that needs to be addressed prior to cutting your fabric; the binding for this project is cut slightly differently. For both binding, double the width (for a total of 3 inches for the smaller sizes, 4 for the larger ones). Since these are basic rectangles, you may want to use a ruler to cut or, if you prefer, cut with the band piece on the fold or flip the paper over as you are cutting to increase the width.
Additionally, once the front piece is cut, lower the neckline by 0.5". Follow the curve and gradually blend the neckline out to the shoulder point
.
Step 2: Follow as indicated in the pattern's instructions
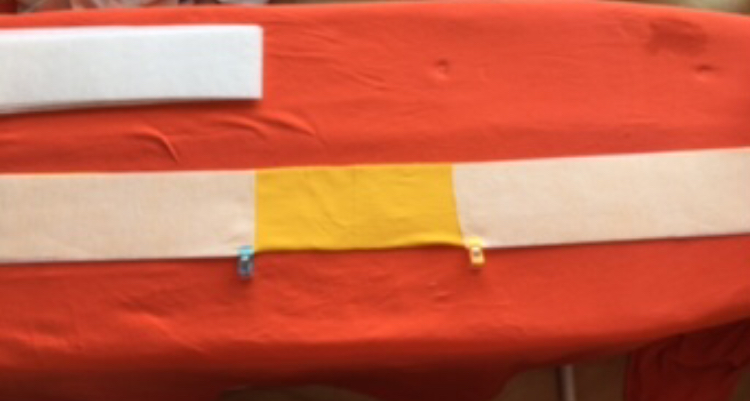
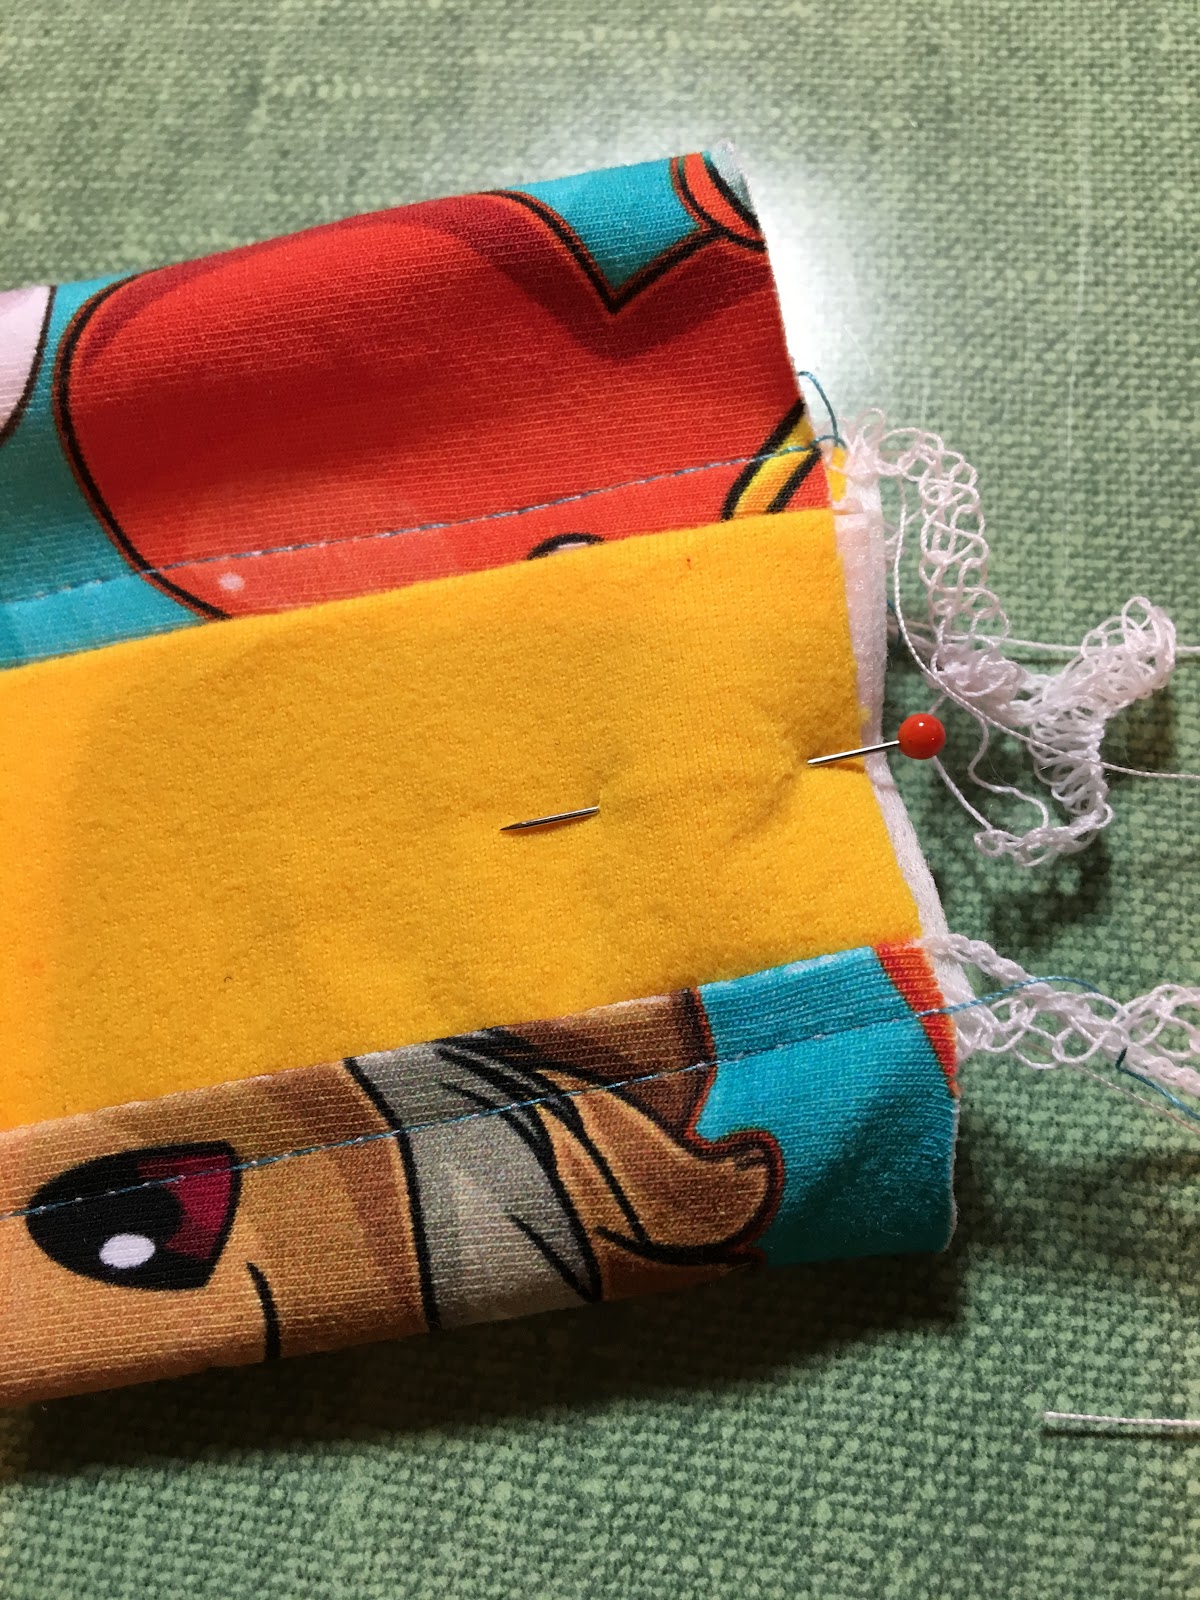
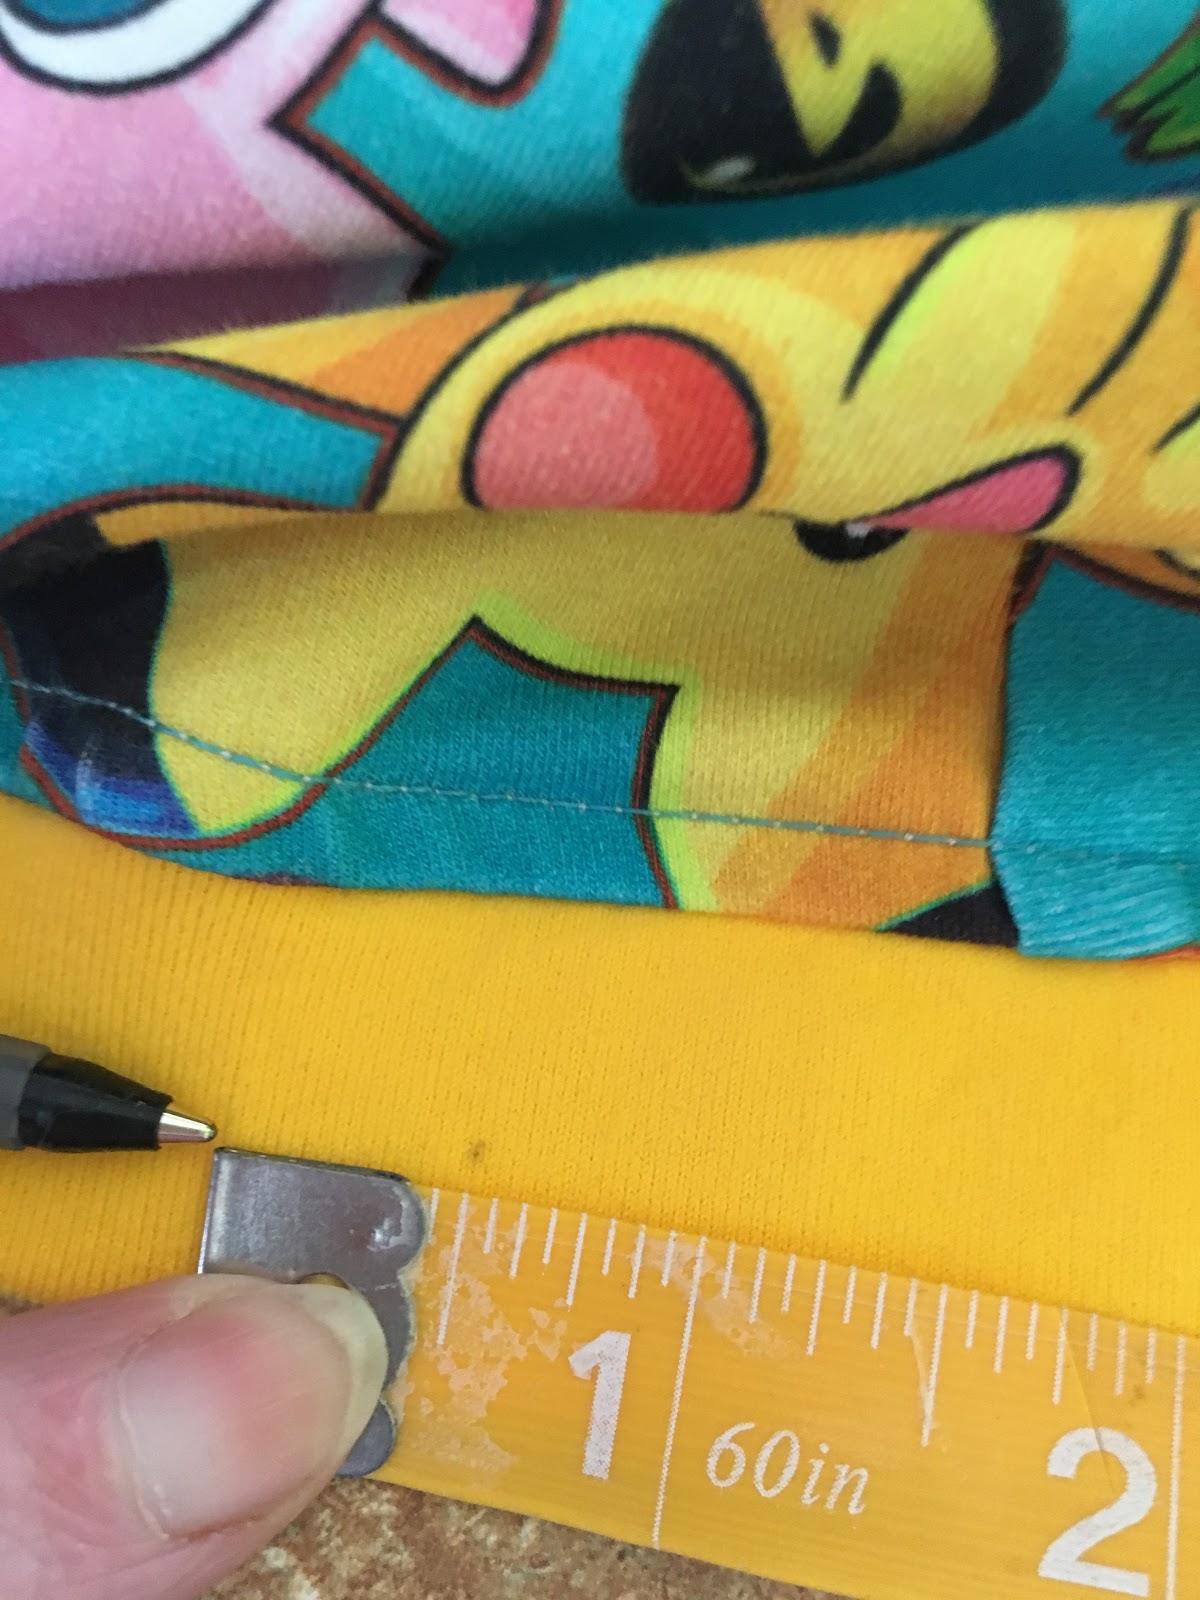
Step 3: Transfer the notch markings as indicated in the pattern but DO NOT SEW the binding pieces together. For this step, add the stabilizer to the banding. Measure from the notch to the end of your binding and add 0.5". This is the lenght of stabilizer you will need for each of your bindings. Cut four of them, the FULL WIDTH of the binding.
Add your stabilizer to the binding bands, leaving the neck portion without stabilizer. If you are using a lighter stabilizer, I suggest a second layer at the notch for the neck/shoulder snap as that is the one that will bear the most stress. You may want to do some tests with snaps on a scrap to see if your choice is adequate.
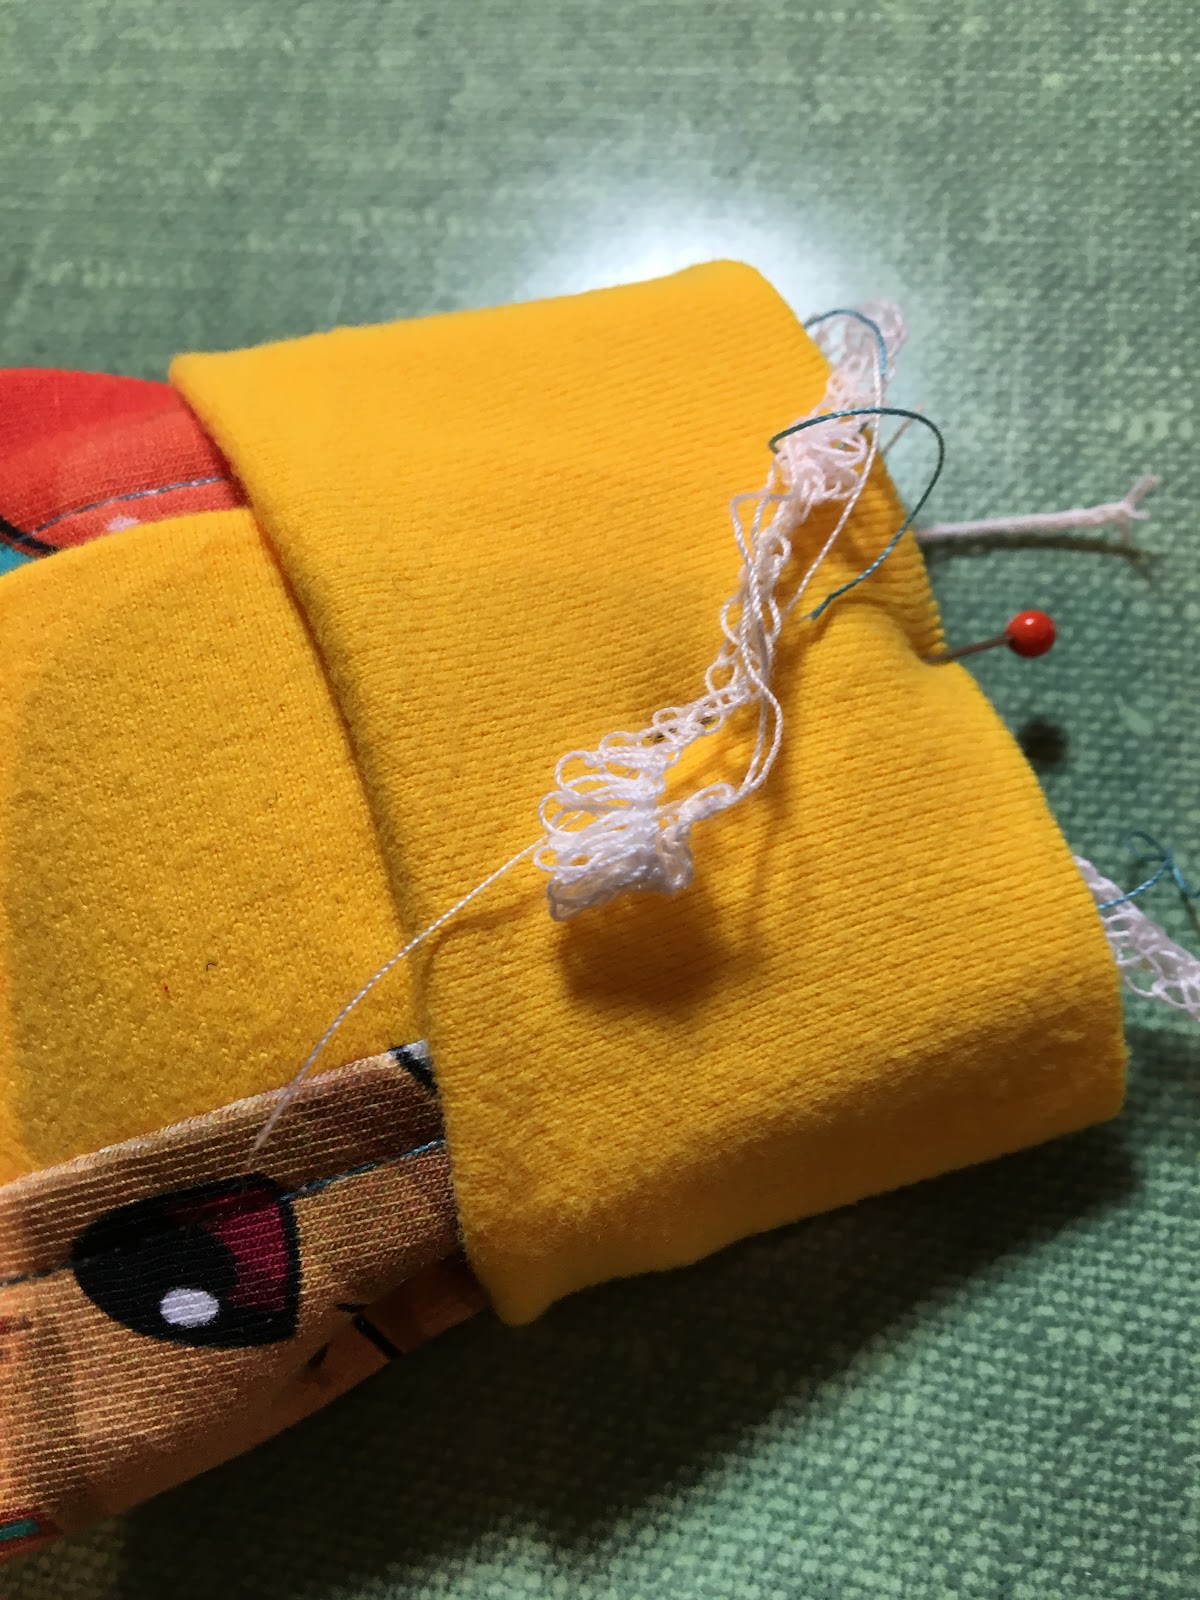
Step 4: Fold the binding strips over lengthwise, wrong sides together, and iron.
Step 5: Proceed as directed EXCEPT you are deaing with the front and back as separate units still. They are not connected (yet).
Step 6: Proceed as directed
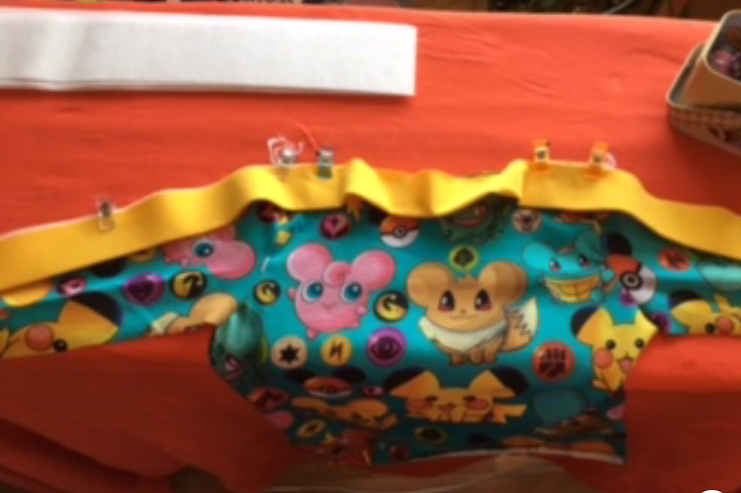
Step 7: The bands will be joined at the cuffs. Ensure that the FRONT binding is on top of the back on both sides; they will overlap fully. Pin to hold them in place; this will give a clean line visually to the finished garment. Add your cuff pieces, matching the seams. Your sleeve is now complete and will not twist or shift.

Step 7: Proceed as directed.
Step 8: The final step is to add the snaps. Place the first one where your notch markings were on the binding at the neckline. If you have lost the marking in construction, it is 0.5" in from the end of your stabilizer (indicated by the pen tip). Space your snaps at 2" intervals down the sleeve.

This shirt is great for broken limbs as well as for port access for chemo or other medical procedures. Pair it with the skipperpants (which are included in the file) for über comfort!
If you are making one of these for a child in treatment, PLEASE make a Duck Butt Designs Beanie to go with it. If you have scraps, make some extras! My experience has been that the kids like to share some of their awesome custom stuff with their newfound chemo buddies.
Michelle Racher
Nechako Notionary