Rehabbing my Consignment Find
For some reason, my kids keep growing. It would seem that peanut butter (sometimes the only thing they will eat) is their Miracle Grow. So this year, when the weather turned too warm for their oversized winter coats but not yet warm enough for tee shirts, we found that none of their lightweight jackets fit. Sure, I could make them new ones (and I will, but my poor kids' projects sometimes take forever to get done), but while browsing consignment one day I found the PERFECT jacket for my five year old.
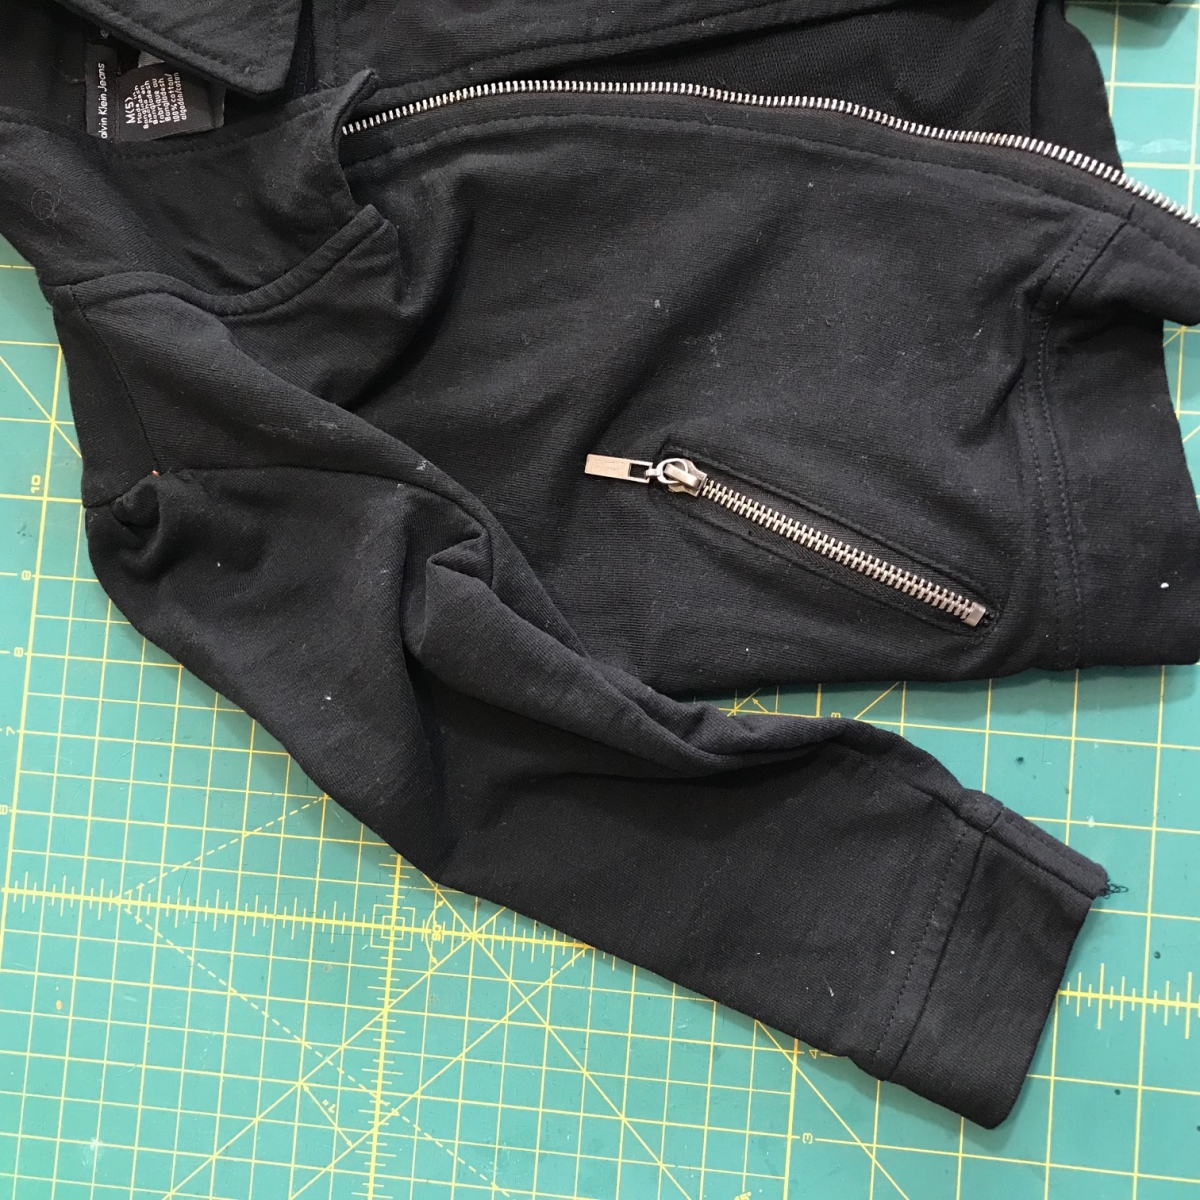
It was a motorcycle jacket, so cool! Asymmetric front zipper, sharp collar, zipped side pockets, and a great price! When I brought it home, however, my five year old was quick to point out that the shoulders were "pouffy" (oops - why hadn't I noticed?) and he wasn't having it. Also, the sleeves were too short on him. By a lot. But the rest fit and looked awesome, so I wasn't about to return it.
Enter the seam ripper.
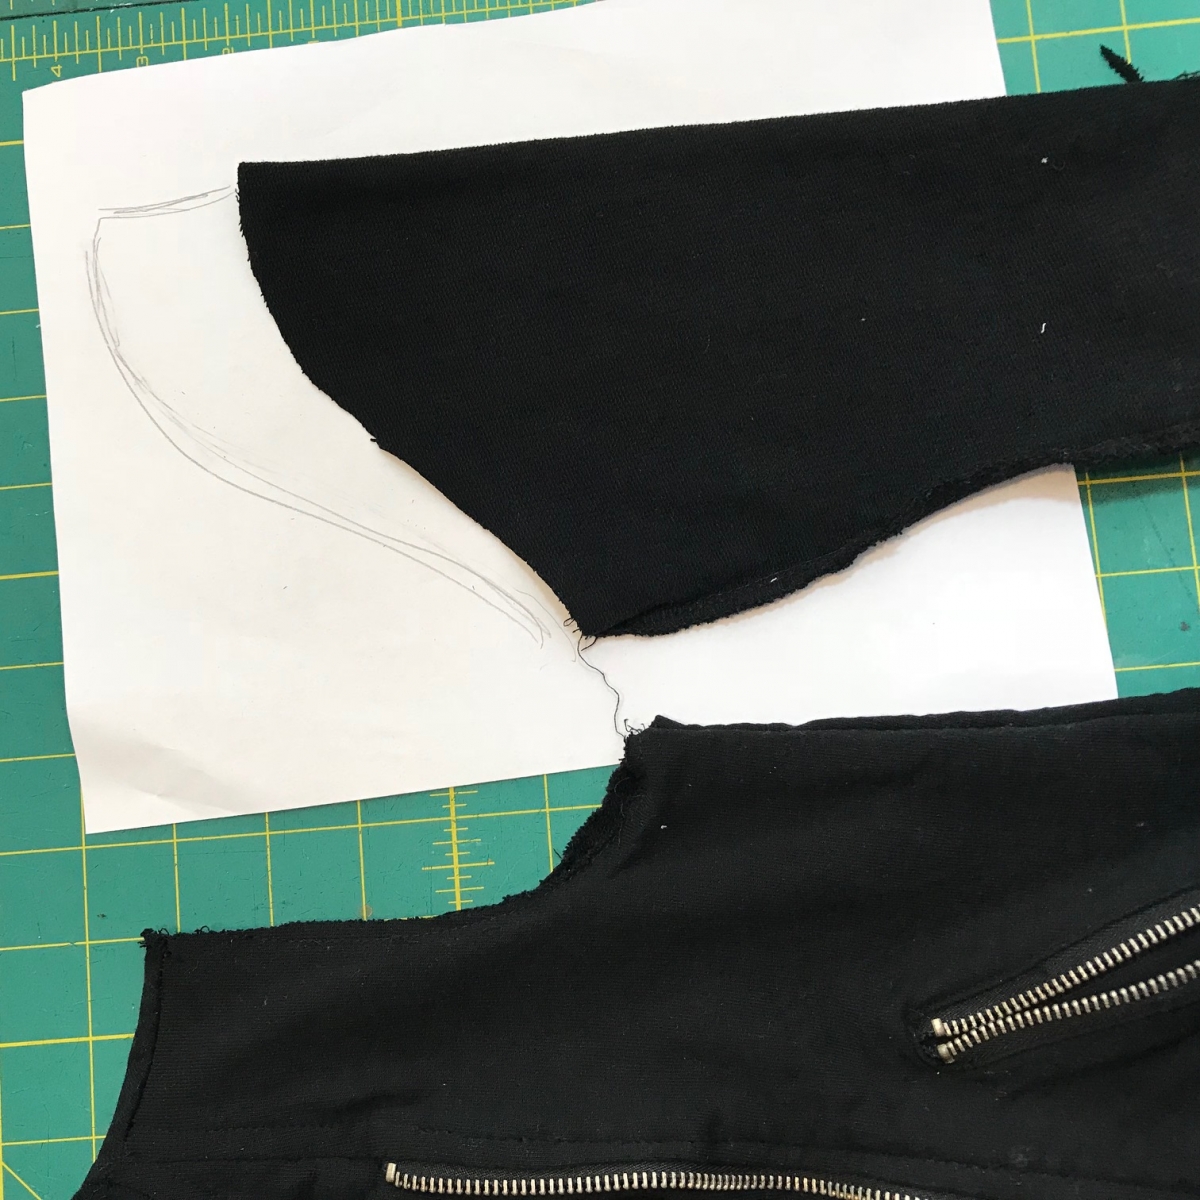
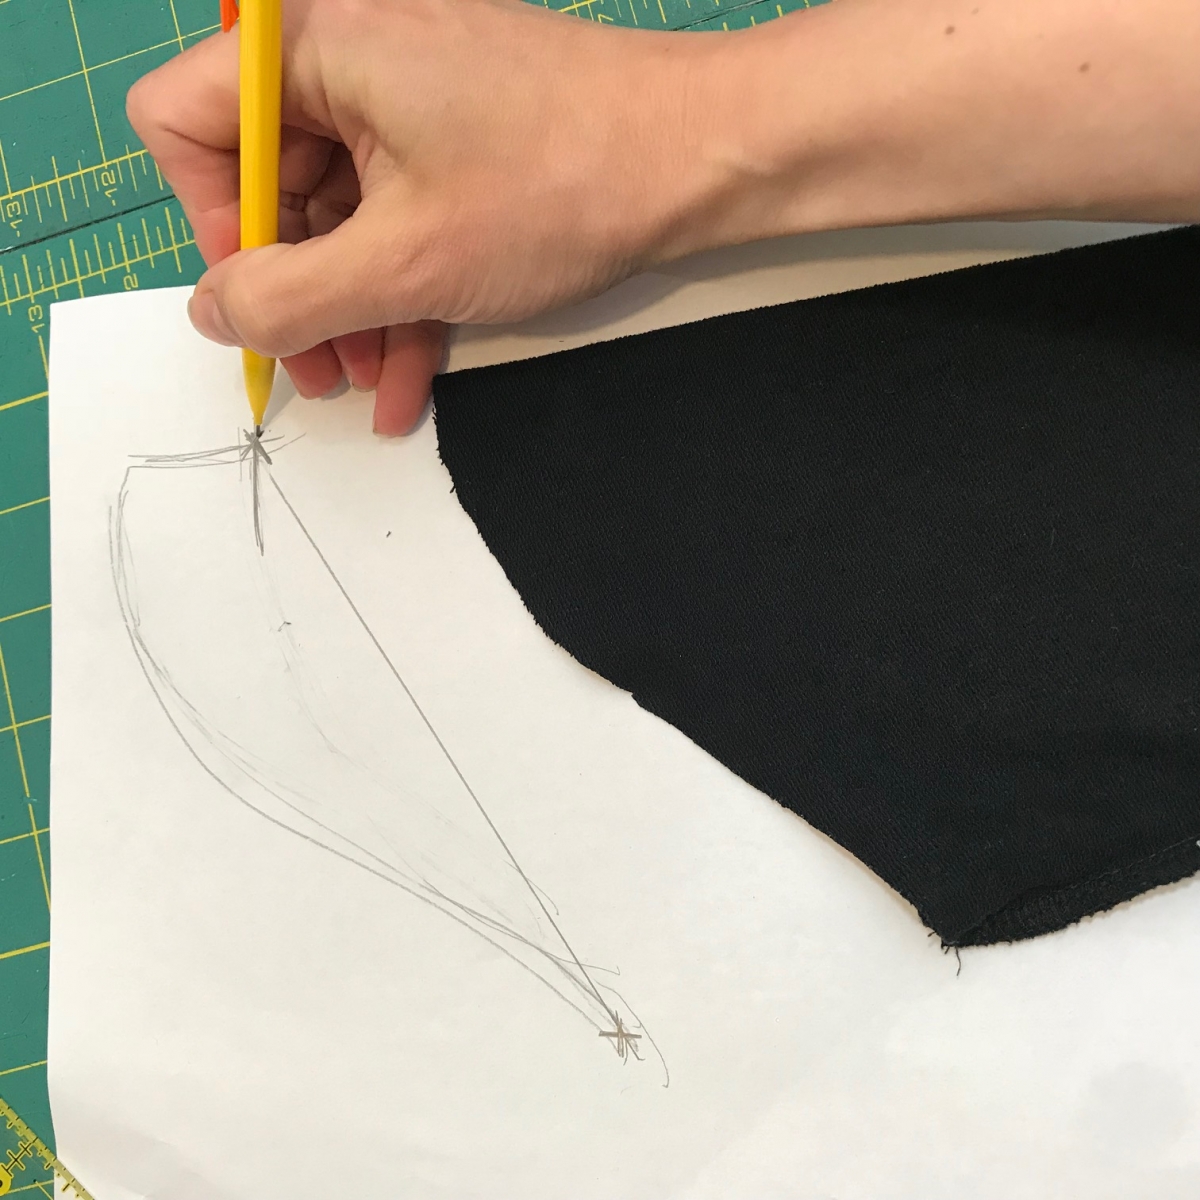
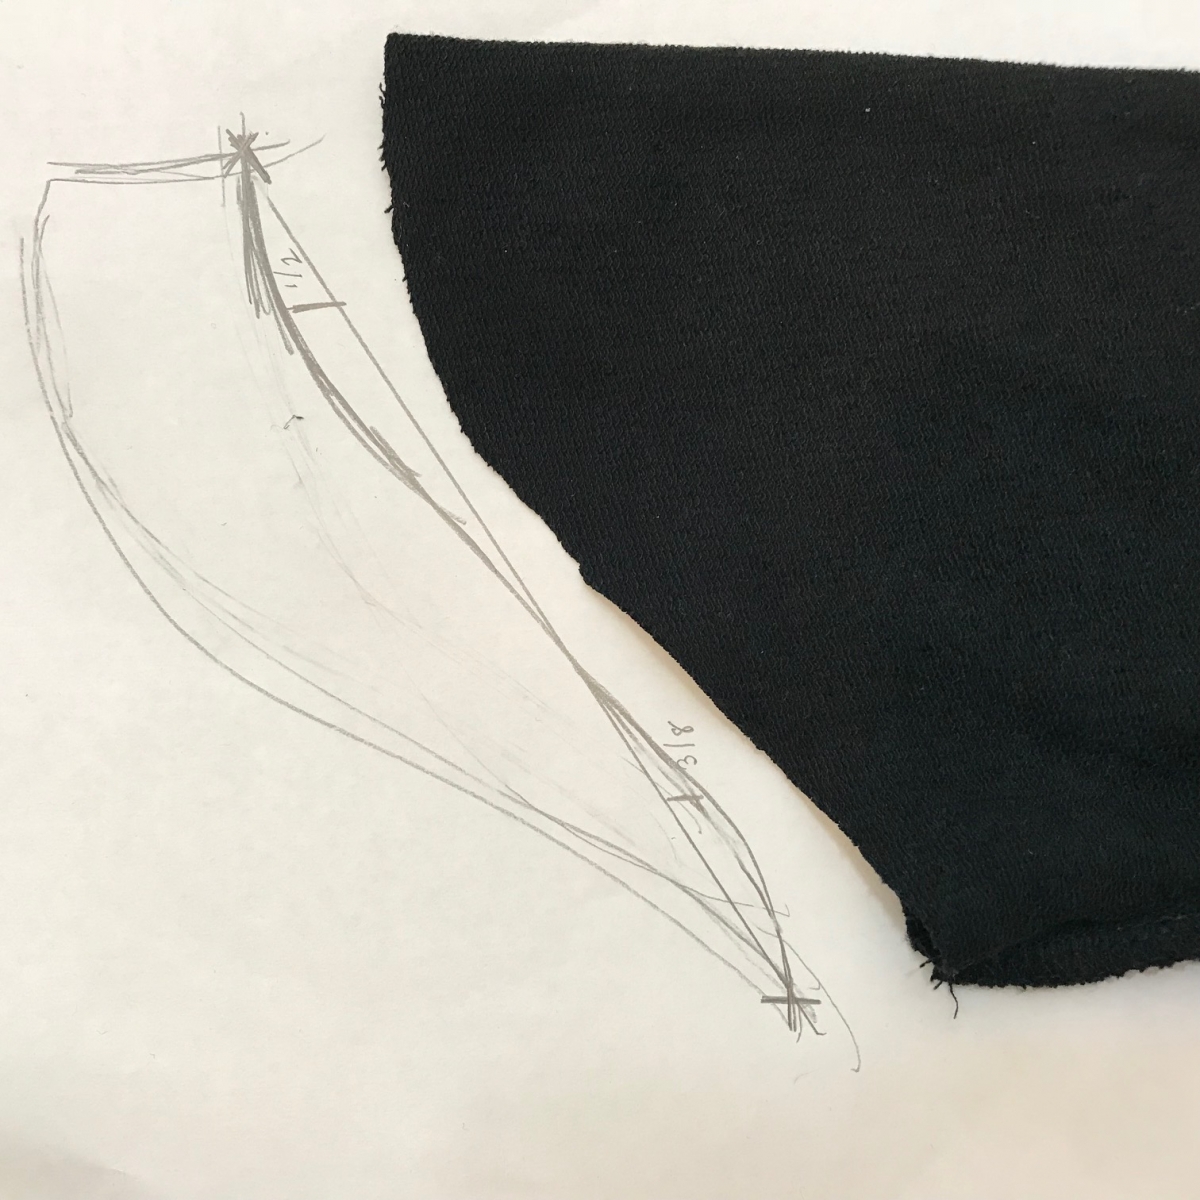
The first thing to do was detatch the sleeves. Seam ripping a serged seam isn't the worst thing in the world. Sometimes it goes centimeter by centimeter, but occasionally you'll catch a break and hit it just right, then the whole thing unravels. It's very satisfying. Once the sleeve was off, I measured the armscye opening from top to bottom. This would become the angled measurement from the armpit to the top of the cap height. I traced the original sleeve onto a piece of paper, and drew a new line from the armpit to the folded edge. Once that line was roughed in, I used a lazy verson of the formal way of drafting a sleeve: 3/8" below a quarter of the way up, 5/8" above three quarters of the way up. Then I recut the sleeve. Since the jacket had a decent amount of stretch, I was able to ease the new cap onto the armscye with ease.
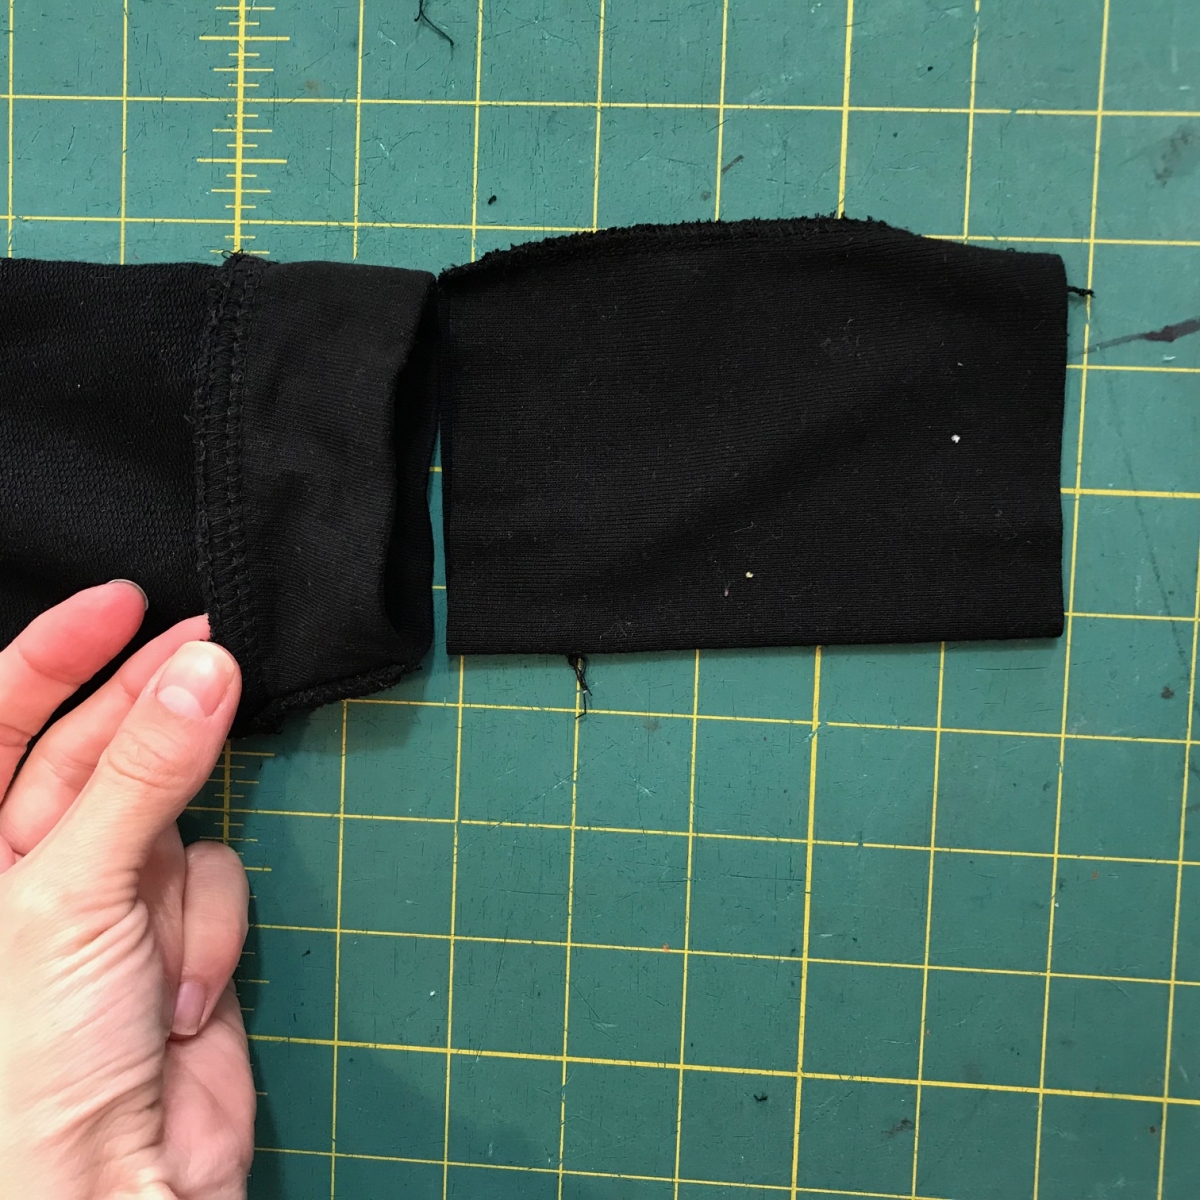
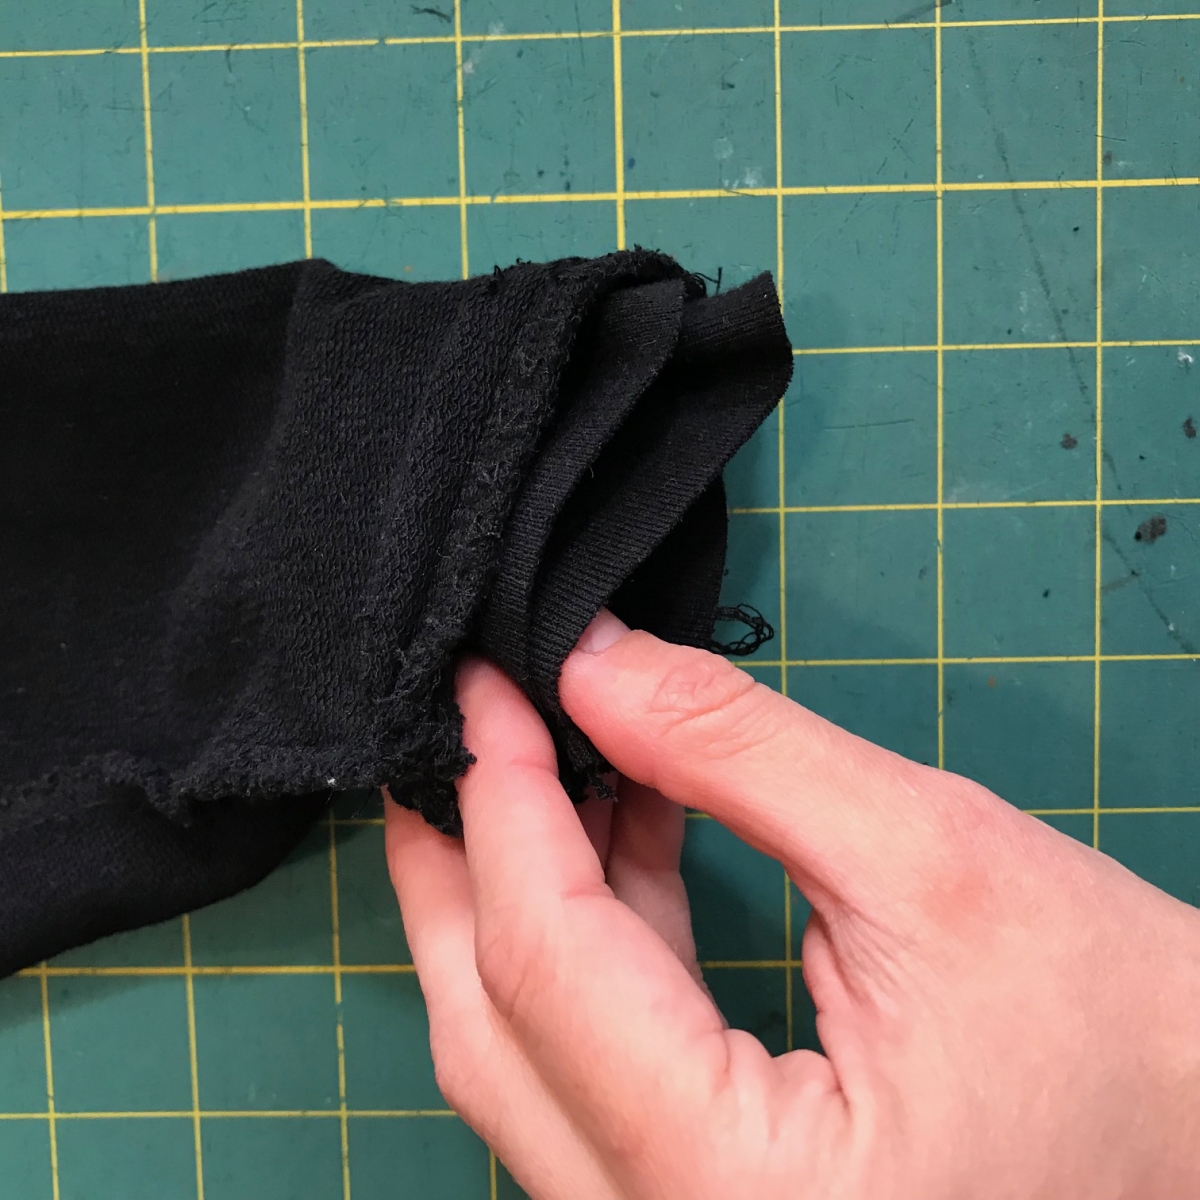
The next problem to address was the sleeve length. I calculated about 90% of the width of the sleeve at the wrist and cut a cuff that wide by twice as long as the length I wanted to add to the sleeve (which would end up being a whopping 5" when done). I ripped the stitches holding down the serged seam of the existing cuff and added the new cuff to the seam. I had to go very carefully since there would now be five layers of material to serge through.
.jpg)
Here is the before/after picture with the bottom side representing the "before" and the top the "after" (apparently I have no way of rotating photos in this blog post. I have already contacted customer service...). Note how filty it is.
.jpg)
When I was done, I had to throw the whole thing in the wash because OF COURSE my kid had already worn it and spilled who knows what on it.
But now, he has a cool motorcycle jacket that he won't take off. Even though the high today was 90F....